Okay, so I just went to make a post, and it won't let me upload any more photos! What a rip off! I thought blogger was supposed to be free? It says that I have to pay to upload more photos. I know there is a way that I can fix it, I just need to research it. I don't want to be miserly with my pictures, I love lots of pictures! So, I guess this means I'll write my blog later.
I hope ya'll have a great weekend!
Missy

Homemaking, Baking, Cake decorating, Sewing, Quilting and Serving God!
Friday, November 30, 2012
Tuesday, November 20, 2012
Finished Dresden plate quilt!
I finally finished my Dresden plate quilt!

 Since I am still learning how to quilt, I just did a basic cross hatch in the squares. I love my backing, it is a retro sheet I found at a yard sale. I saw the same sheets on the Mary Tyler Moore show, ain't that a hoot? I definitely want more retro sheets for my backings!

 I was so worried that my fabric marker would not wash out from the antennae it was the first thing I looked at when I pulled it out of the dryer. My first appliques!

 I did straight lines on the border and I love how the corners turned out! I used this tutorial from Pt Sloan on my binding, unfortunately I did not have a reverse blanket stitch to use, so I just sewed a straight line. I was reading another tutorial that had a great hint, if you want the binding to be 3/4 of an inch or 1/2 an inch or whatever, that is the seam allowance you use while sewing the back of the binding, it worked perfect!
 I didn't have enough of the green, so I added left over pieces of the sashing here and there. I got to the end and I was an inch short, I was so happy I had not thrown away that last piece of sashing, it was just long enough! They pulled the quilt off the chair and then crawled in it. They love quilts!

 This is my first full sized quilt that I made all by myself that I have finished. It has been approved by all six of my cats!


 A couple of my yo-yo's came undone in the dryer, so I will fix those tomorrow and then package it up for the person I'm giving it to!
 For more info on my quilt and some tutorials, go here. I still need to post my tutorial on how to make the butterflies, that will have to wait until next week though.
 Have a very happy Thanksgiving ya'll!
Missy


Missy
Monday, November 19, 2012
Thanksgiving Recipes
 |
| Add caption |
Thursday is Thanksgiving! This is my husband's favorite holiday and sometimes his birthday falls on Thanksgiving! Here is a turkey cake I made him one year:
Here is a post about our first turkey dinner when we were married 17 years ago!
Here's a great recipe, my apple/cranberry relish, it is delicious!
My favorite cupcake recipe is my pumpkin spice cupcakes here:
Here is last year's Thanksgiving dinner, even seasoned cooks have mishaps!
This year we are going to a friend's house.
My spiced pumpkin custard pie!
Of course my buttery sourdough rolls I shared with ya'll last week.
If you use any of my recipes let me know how they turn out!
Have a great day of thankfulness!
Missy
Sunday, November 18, 2012
A finished top!

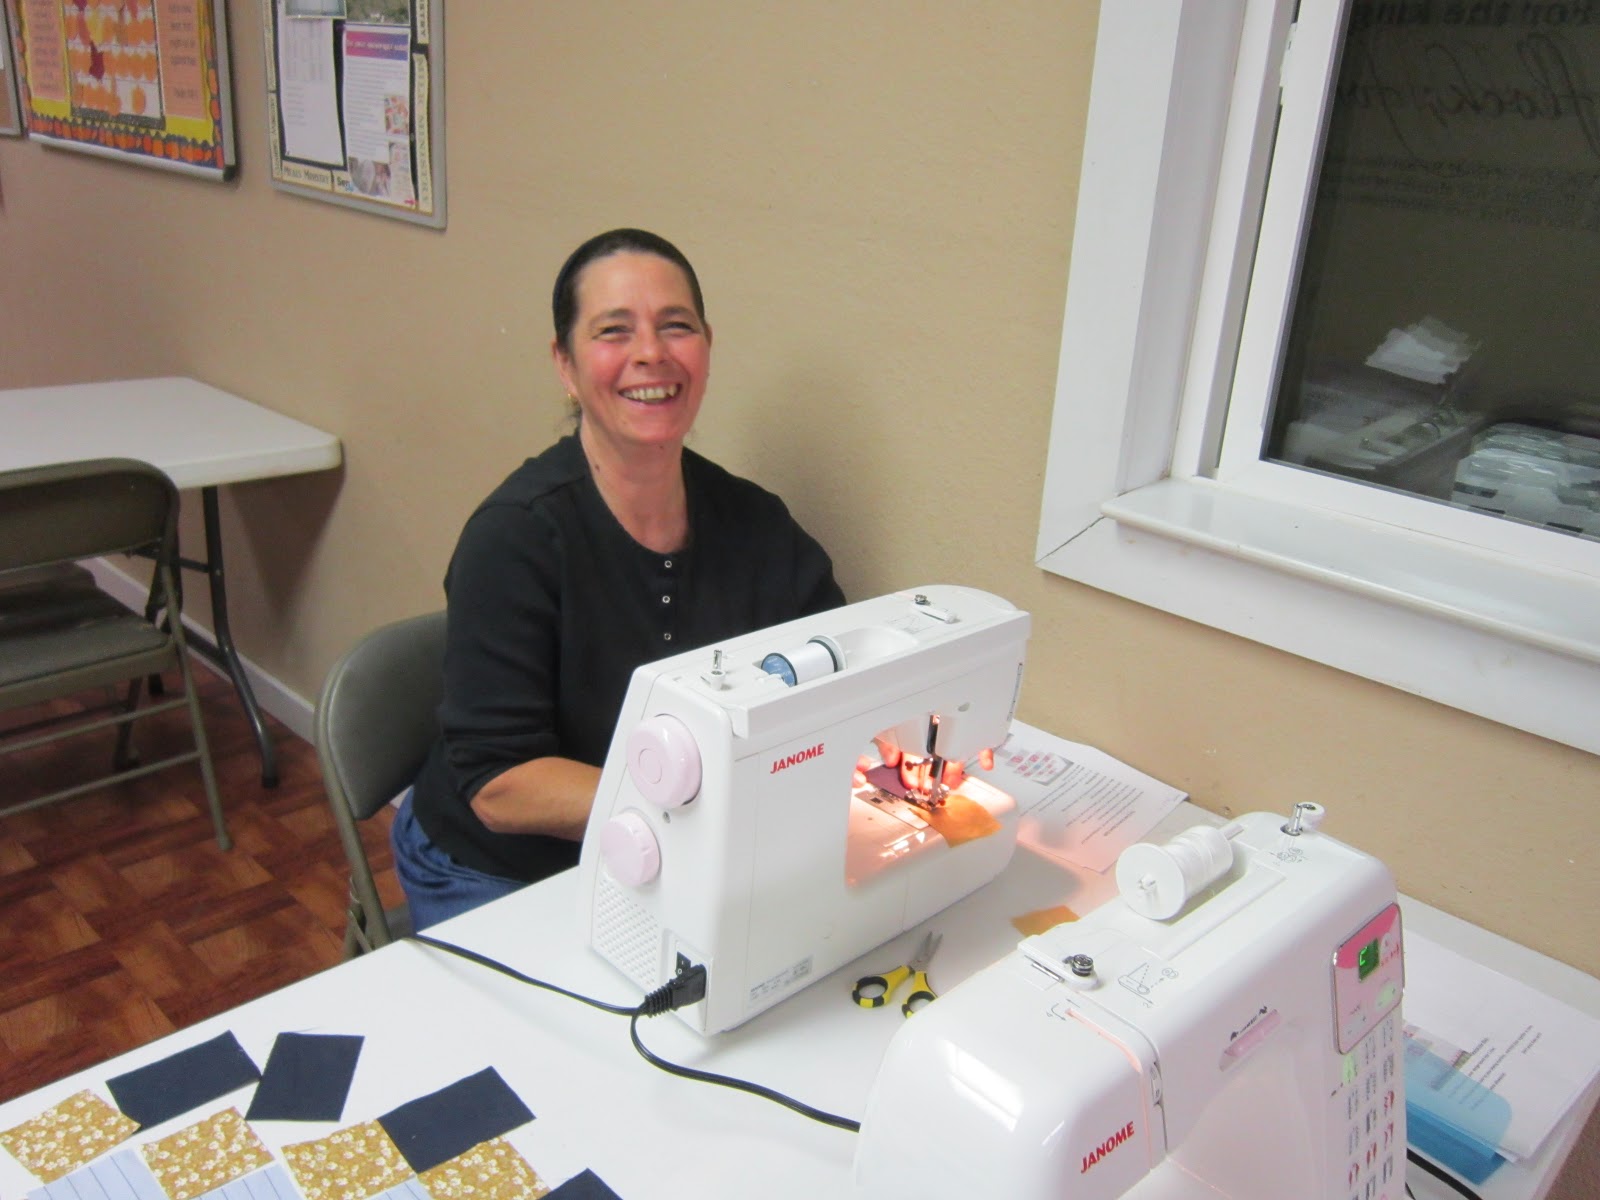
 I was busy on Friday night! I got to church at 6:30 and did not leave until 11:30! Six blocks were made by friends at home, and the other six were made Friday night.
This is Marie using the other Janome I won in the friend to friend contest at the beginning of the year. I gave her the second one.


Julia couldn't stay Friday night, but she did two at home.


Since it is a prayer quilt, we made sure to take the time to stop and pray for the person getting this quilt.
I can't wait to show it to you when the top is completely done!
Have a great day ya'll!
MissySaturday, November 17, 2012
Hexie Help needed!

Sorry about the post it notes still pinned on the flowers, but I did n't want to forget which row this one is.
Thanks for your help!
Missy
Friday, November 16, 2012
Working hard
I got so irritated that I missed my self imposed deadline on my Dresden plate quilt, that I put it to the side and started working on other things. Well, I have to get it done now, so I've pulled it back out and started quilting it again. As usual, Pippi wants to help.
 I've been doing a cross hatch pattern on it.
 Word of caution, don't get in such a hurry that you sew the corner of the quilt to the quilt.

Tiger had to check out the quilt and make sure it was looking nice.

 This is where it is right now, I have one or one and a half blocks to finish quilting. Then it is ready for the binding, which is already cut and pressed, ready to go. I have really got to clean off my table!

 Tonight we are having our first prayer meeting for the prayer quilt, and my goal is to get the top sewn tonight. It's only 12 blocks. This will be perfect for the Friday Night Sew In at Handmade by Heidi. We'll probably be there until 10-11 pm.
Tomorrow I'm having a yard sale.
What are you working on?
Happy quilting!
Missy


Tiger had to check out the quilt and make sure it was looking nice.


After helping me, they decided to take a nap. Aren't they cute? They love quilts, just like me!

Tomorrow I'm having a yard sale.
What are you working on?
Happy quilting!
Missy
Wednesday, November 14, 2012
A win
I wanted to share with you some fabric I won, my first Moda fabric! I'm so excited!
 I'm going to show my ignorance here, I think t is a fat quarter bundle? I usually buy yardage, so I'm not familiar with the terms. It is called fabric hill.
 I won it from The Shabby Blog of Shabbyfabrics.com .
 I love this material, I would have never put purple with with green!
 The birds are my favorite!
 Thank you Jennifer!
Missy


Missy
Tuesday, November 13, 2012
One block finished!

 I finished sewing one of the blocks! I love it!It was a lot easier to sew than I thought it would be, I actually did not mess up the first time around! I'm really liking the mauve, brown and red combination with the navy blue background in this block.
 I am using this tutorial from Lori Holt to make my blocks.
These make 12 inch squares. I have other tutorials on my pinterest board if you want to make different sizes, or just a granny square instead of a great granny square. The third row is what makes it a granny square, the middle is the baby, first row mommy, second row is granny and the third row is the great granny. I love that description from Lori!
First, always iron each piece as you sew when using your sewing machine, if you are hand piecing, do NOT iron as you go. Confusing, huh? The reason is because with machine piecing, you sew over the seams, with hand piecing, you sew up to the 1/4 inch seam, but not past it.
When you iron your rows, be sure to press the seams for the first row to the left, second row to the right, etc. The reason for this is so that when you sew your rows together, you match your seams kind of like a puzzle piece, see the picture below.

I don't normally pin, but I wanted to make sure my seams stayed perfectly matched, so I highly recommend it!


I had to trim my sides to even them up.


Is everything clear as mud? Be sure to read Lori's tutorial for the full instructions on making this block.
Happy quilting!
Missy
Subscribe to:
Comments (Atom)