"She looketh well to the ways of her household, and eateth not the bread of idleness." Proverbs 31:27

Wednesday, June 30, 2010

Shoebox And Shoe Cake Tutorial

I have been wanting to learn how to make high heel shoes for cakes and I found these great tutorials on how to make a high heel shoe and matching shoe box!  Thank you Ann Heap from pinkcakebox.com!

Part 1

Part 2

Part 3


What a great tutorial, I can't wait to make one now!

Have fun decorating!
Does anyone have any fun cakes planned for this Independence Day Weekend?  I'm going to try out my new airbrush!

Missy


Tuesday, June 29, 2010

Cookie Favors Recipes


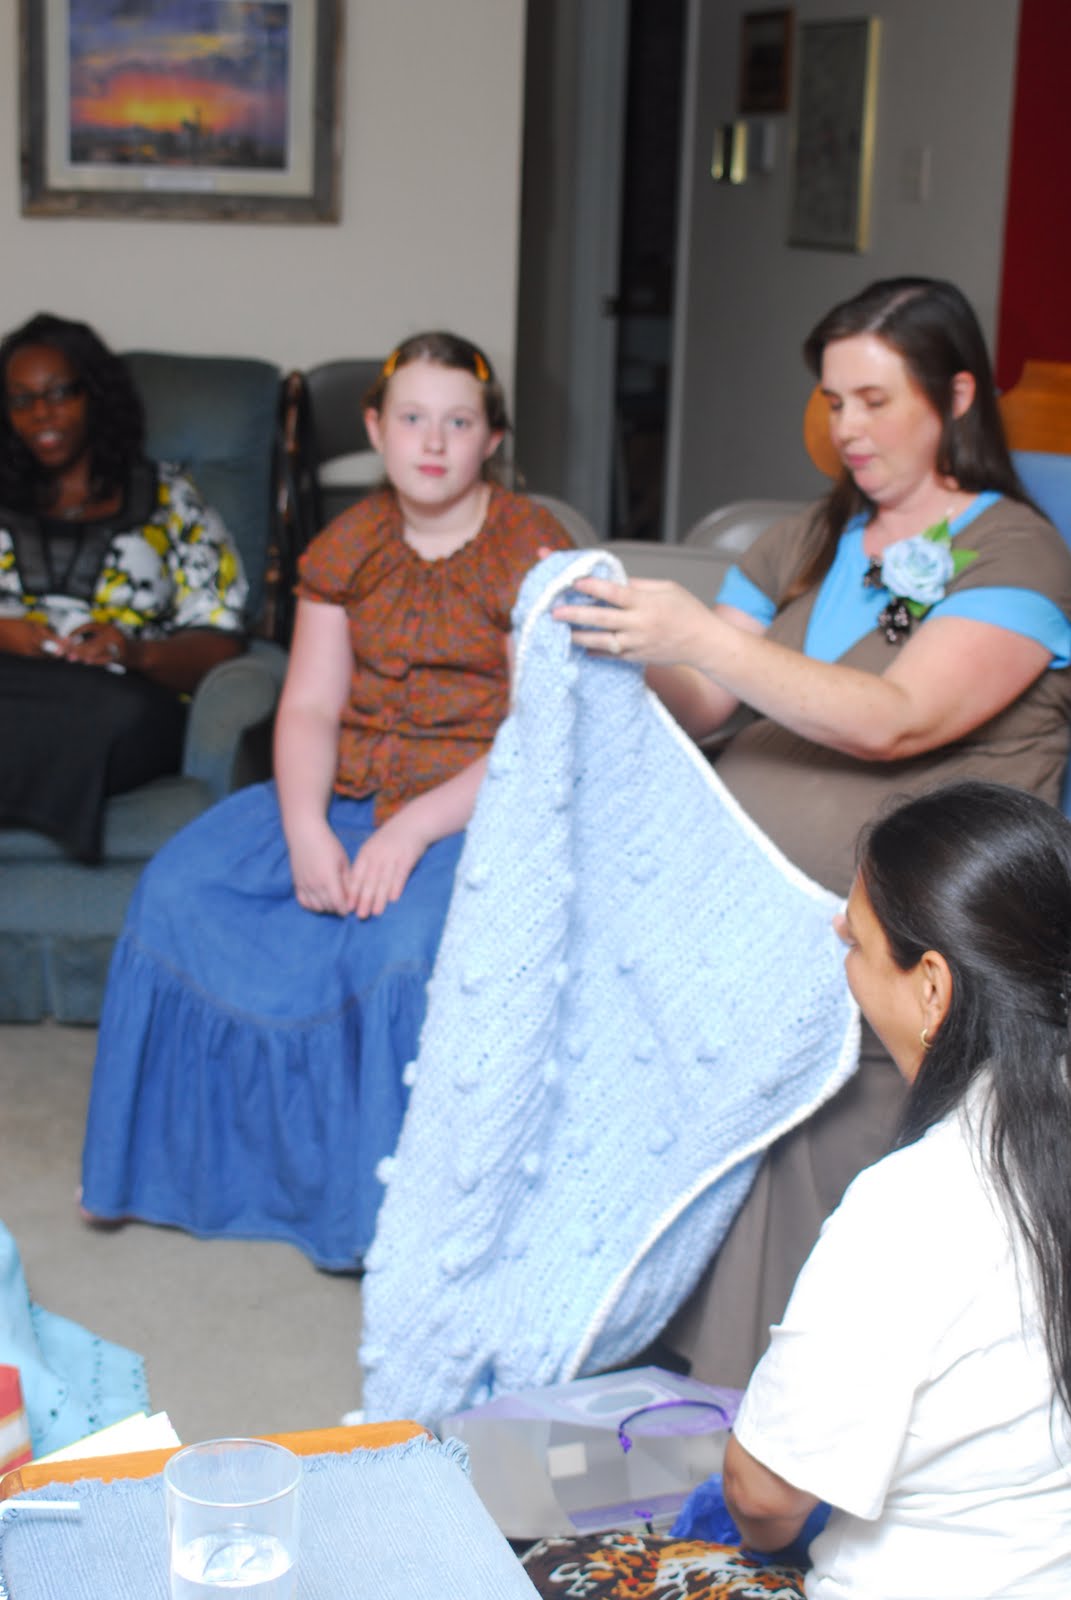
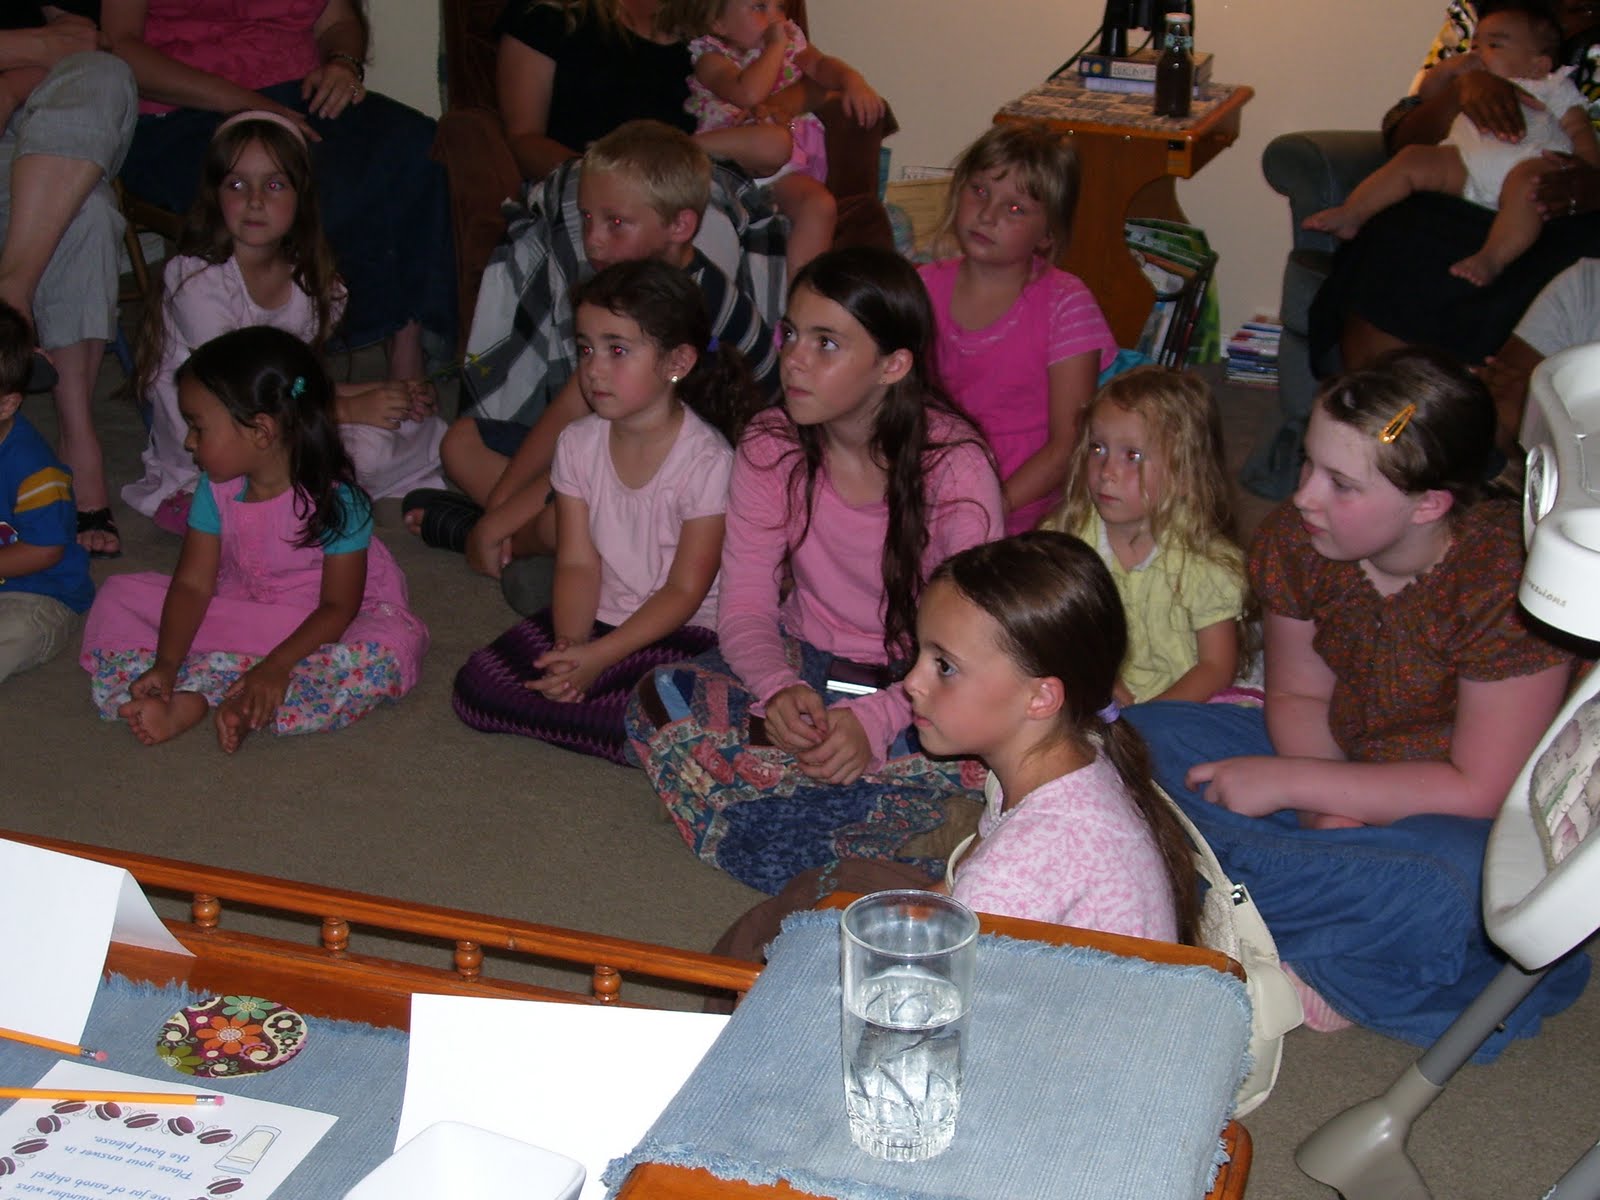
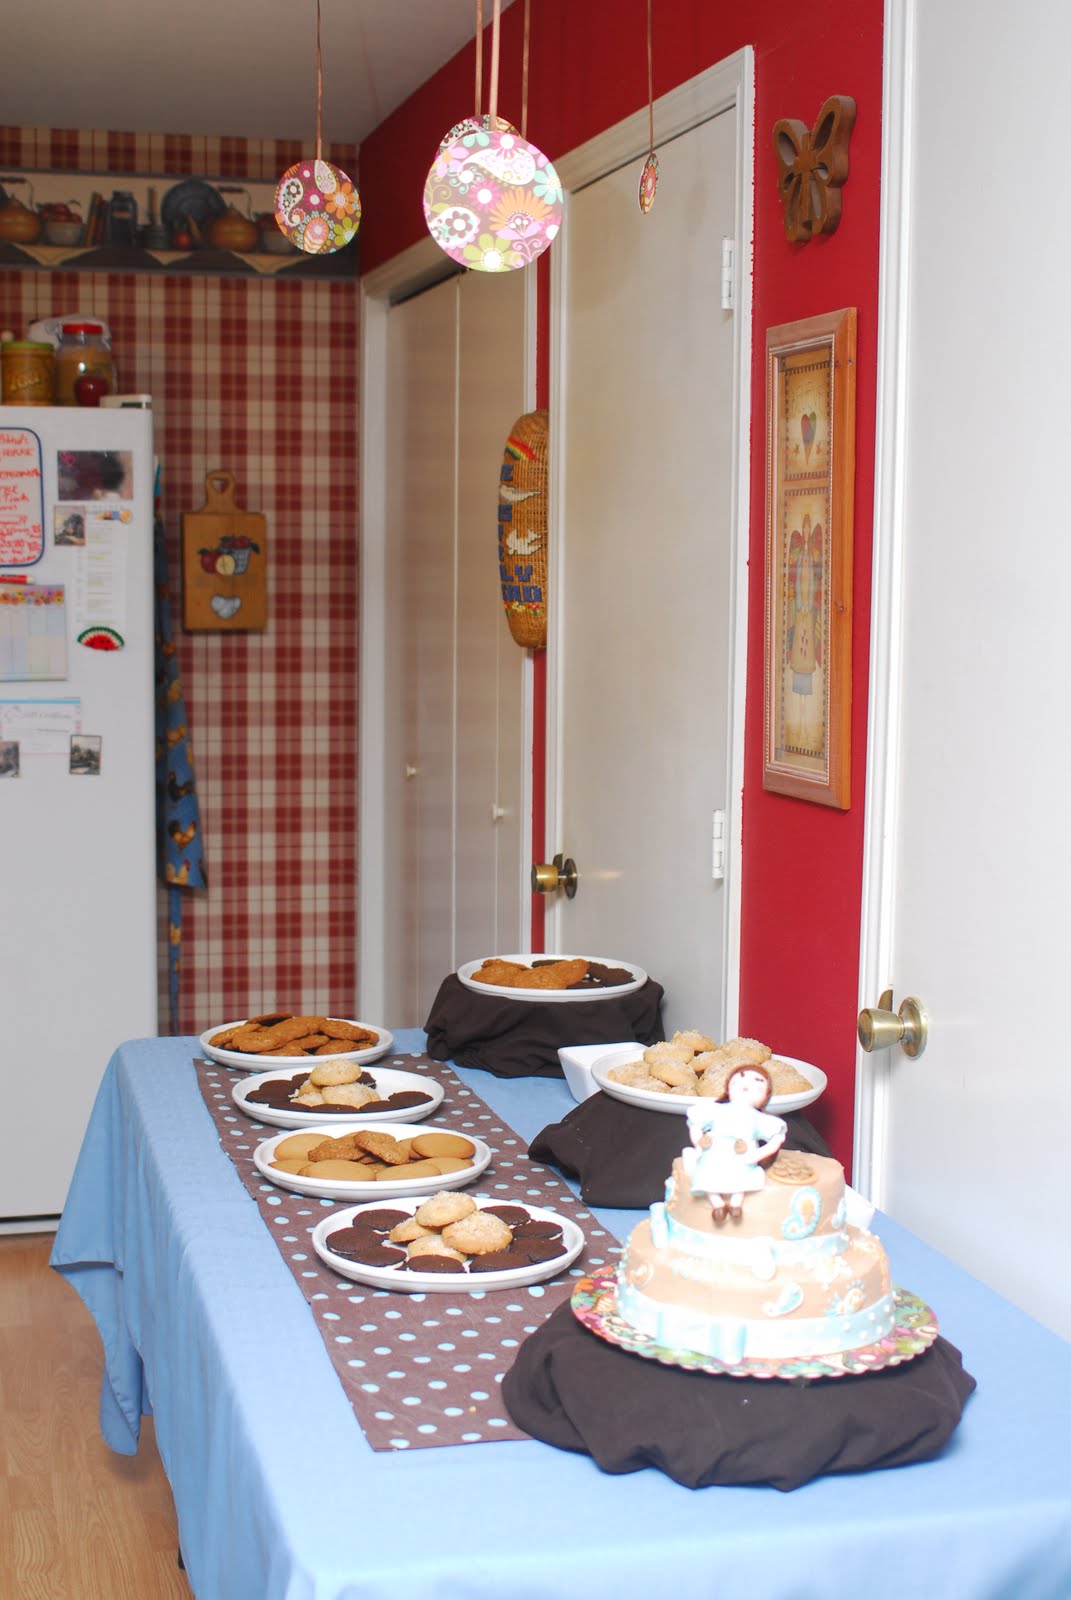
 My friend Clarissa is an amazing cook and mother.  (I wish I had a picture of her cooking!)  She has five children, here are her two girls, and when you have that many kids you have to know how to cook.  She doesn't like to bake though.  I needed someone to make the favors for the shower and I knew she would do a great job.  I wanted cookies as favors, I was thinking simple chocolate chip cookies in bags tied with brown ribbons.  I had not really thought about it, so I gave her my idea and let her run with it.  She surprised me by making three different kinds of cookies, and they were delicious!  She said she wanted something simple with very few ingredients, well these were great!
Shortbread Cookies

Ingredients:

*2 cups butter
*1 cup packed brown sugar
*4 1/2 cups all-purpose flour
*1/2 tsp almond extract  (FYI: I love almond extract!)

Directions:

1.  Preheat oven to 325 degrees F (165 degrees C)
2.  Cream Butter, brown sugar and almond.  Add 3 - 3 3/4 cups flour.  Mix Well.
3.  Sprinkle board with the remaining flour.  Knead for 5 minutes, adding enough flour to make a soft dough.  Roll to 1/2 inch thickness.  Cut into 3x1 inch strips.  Prick with fork and place on ungreased baking sheets.
4.  Bake at 325 degrees F (165 degrees C) for 20 to 25 minutes.


Gooey Butter Cookies-( I personally didn’t like these cookies but the husband and the boys loved them..go figure, this is Clarissa's note!)


Only changes-you can change the yellow cake mix to a scratch one and used palm sugar.

Ingredients

• 1 (8 ounce) package cream cheese

• 1/2 cup butter, softened

• 1 egg

• 1/4 teaspoon vanilla extract

• 1 (18.25 ounce) package yellow cake mix

• 1/4 cup confectioners' sugar

Directions

1. Preheat oven to 350 degrees F (175 degrees C).

2. In a medium bowl, cream together the cream cheese and butter. Stir in the egg and vanilla. Add cake mix, and stir until well blended. Roll into 1inch balls and roll the balls in the confectioners' sugar. Place 1 inch apart onto an ungreased cookie sheet.

3. Bake for 10 to 13 minutes in the preheated oven. Remove from baking sheets to cool on wire racks.

Clarissa said that she used granulated palm sugar to roll the cookies in, and she used a yellow cake mix.  I bet these would be delicious with lemon, orange, or chocolate cake mixes!


These next cookies are absolutely scrumptious!  She made them with carob chips, but carob chips are very expensive so she made her own!  She made the carob chips a few days in advance so that she wouldn't have to worry about them later, she kept them in the freezer.

Homemade carob chips/bark
Ingredients


• 1 cup coconut oil, liquefied

• 2/3-3/4 cup carob powder

• 2 tablespoons vanilla extract

stevia, to taste (or other sweetener)

Directions

Mix all ingredients together in a bowl/saucepan.

Pour the mix into a rectangular baking dish lined with a sheet of wax or parchment paper. The size of the dish will depend on how thick you want your chips to be.

Put the dish into the freezer to set. It shouldn't take very long; maybe 20 minutes or less.

Take out baking dish and break carob into chips/chunks. Store them in the fridge.


No bake oat bars-only change is I used palm sugar and carob

Ingredients

• 1 cup butter

• 1/2 cup packed brown sugar

• 1 teaspoon vanilla extract

• 3 cups quick cooking oats

• 1 cup semisweet chocolate chips

• 1/2 cup peanut butter

Directions

1. Grease a 9x9 inch square pan.

2. Melt butter in large saucepan over medium heat. Stir in brown sugar and vanilla. Mix in the oats. Cook over low heat 2 to 3 minutes, or until ingredients are well blended. Press half of mixture into the bottom of the prepared pan. Reserve the other half for topping.

3. Meanwhile, melt chocolate chips and peanut butter in a small heavy saucepan over low heat, stirring frequently until smooth. Pour the chocolate mixture over the crust in the pan, and spread evenly with a knife or the back of a spoon.

4. Crumble the remaining oat mixture over the chocolate layer, pressing in gently. Cover, and refrigerate 2 to 3 hours or overnight. Bring to room temperature before cutting into bars.


I asked Clarissa if she had any hints about making these cookies.  Here is her answer:

"For the carob chips, I hardened them in the freezer and melted them for the cookies….had to do it that way because I was making the chips way before the cookies AND I wanted to eat it like bark, yummy."

"With these 3 cookies, I mixed up the shortbread first and threw it in the oven….at the same time making up the gooey recipes, then moving on to the no bake last…so I was easily able to make 3 different recipes at the same time(not counting making the carob chips earlier)"

Thanks Clarissa for the yummy recipes, the favors were a hit, even though poor Siouxsie didn't get any!

Please leave me a comment and let me know what you think about these cookies!
Happy Baking,
Missy


Monday, June 28, 2010

Cookie and Milk - The food and everything else


The food was a lot of fun to plan.  We had a cookie buffet and strawberry milkshakes.

 Cynthia made the milk shakes and then we put the milkshakes in my white pitcher which was sitting in a bucket of ice.  Renee made homemade strawberry ice cream and Cynthia just did half milk and half ice cream for the milk shakes.  Since we were adults, and milk is expensive I thought the milk shakes would be a big hit for the "milk" part of my theme.  We also had tea and water in milk bottles for our friends who did not want milk shakes. 
Clarissa made the favors. She made three different kinds of cookies (I'll post the recipes tomorrow). She wrapped them in plastic wrap then wrapped them in blue tulle and tied a brown ribbon around the tulle. She printed a copy of the verse and a copy of one of the recipes and attached them to the favor with the cookies. Not only did they look good, but they were delicious! 
 

Since I was busy baking and decorating the cake and planning the shower, I did not have time to bake cookies also (If I could have gone without sleep I might have been able to), so I passed a list around Sunday School and asked my friends to help out.  Miss Debra made her famous homemade carob Oreo cookies (you can find the recipe in a previous post), Chrystal , who had made the cookie bouquets, made carob chip cookies and sugar cookies, and Julia made some type of coconut cookies.  I must admit I was kind of worried when I saw that we only had four kinds of cookies, but the Lord blessed and we even had leftovers!  I put the cookies on white dinner plates from home, I figured since cookies are usually served on plates at home it would be fitting!

First, let me say that I have no idea why the picture rotated once I downloaded it for the blog, but I have no idea how to fix it!  I used my my printshop program to make the invitations, banner, games and everything else.  I love Printshop because it is easy for me to use(and I am not very computer savvy!).  I put our theme verse for the shower, "O taste and see the the Lord is good, blessed is the man that trusteth in Him."  Psalm 34:8, on the front of the invitation to set the mood for the shower.  Inside the invitation I asked all of the ladies to bring a bag of cookies for Kristi to put in her freezer to feed her family sweets, who wants to cook when they are pregnant?  I also printed the gift list on the blank side of the invite.

 Siouxsie did a great job with the gifts for the games!  She wrapped her gifts in brown paper bag that had chocolate chips drawn on them and crumpled them to look like cookies and wrapped up the gifts in a round shape.  Aren't they cute?  I put them on the tables so everybody could see them.  Since we had the cookie bouquets also, I gave them a choice of a "surprise cookie" or a cookie bouquet. 


 We had one extra "cookie" gift left and I shamelessly asked Siouxsie if I could have it.  Aren't these jewelry sets pretty?  Cynthia, my neighbor, also got one so I had her let me borrow hers for a picture with mine.  There were two other designs also.  My heart has a prayer on it asking God to hep me walk in His path, and Cynthia's necklace and earrings says "With God all things are possible", Susan's is a circle and has the Lord's prayer, and Sherry's has the teacher's prayer on it.  I don't like the showers where you are expected to give your prize to the guest of honor, what's the fun in that?  After all she gets all the gifts we brought her.


I wanted her to have a corsage, but I did not know how to make one.  I bought all the stuff and Cynthia made the corsage for me.  Now that I think back, I should have looked in the scrap booking section and bought some charms that have cookies and milk to hang from the corsage also.
Marie gave the devotions for Kristi, and talked about how Kristi trusted the Lord for this baby she is having.  I think it is very important to have a devotion at special events like this.  It gives us a chance to stop and think about what a true gift from God this baby is.

That is all of my pictures of the shower, now I want to go over just a few ideas for planning a shower.  First, start early.  As soon as I found out Kristi was pregnant I started planning what theme I wanted to do for her shower.  Use the Internet for ideas; blogs are a great resource!  After I had decided on a theme, I started planning the cake, which I had to redo after I found my paisley and polka dotted plates.  I asked for help.  People might not want to help plan or host a shower because of time or money, but they are  usually willing to do one thing.  As you can tell from my posts, I'm pretty good at delegating.  Was everything done exactly the way I wanted?  No, but that's okay, this way everybody was a part of the shower.  Every shower does not have to be done the same way, just because "that's not the way we usually do it" is said a lot, it doesn't matter.  You are giving the shower, do what you think the guest of honor would like. That's another thing, you might like the theme of cute little baby mice, but the mom-to-be might be terrified of mice.  This party is for her, not you!  Planning is essential.  Type up a "schedule" for the shower and give it to the co-hosts and everyone who is helping.  This will help you not to forget to play one of the games or something.  I was constantly referring to my schedule to remember what to do next!
When planning the schedule I printed off one of the generic baby shower planners off the web, then I typed up a list of things to do and put blank lines beside each thing so I could make notes and stuff as I went along.  This helped me not to forget anything.

The main thing is to remember to have fun!  This is a baby shower after all and if you are totally stressed and demanding everything be perfect, then your friends and guest of honor won't have any fun either.  Thank you for reading my blog posts about the shower this past week, I hope I haven't forgotten anything.  If you have any questions, just ask!  I'll start posting recipes for the cookies tomorrow!
Happy Baking and party planning!
Missy


Friday, June 25, 2010

Milk and Cookies Baby Shower - The Games


While I was doing research for my baby shower I was trying to come up with some fun ideas for the games that were cookies and milk related.  I could not find any!  Ugggh!  That meant I had to be creative!  I had thrown a shower a year ago that was a pea in a pod theme and we had played pin the pea on the pod (like pin the tail on the donkey) so I decided to play pin the chip on the cookie.  That is my pastor's wife in the above picture, Ebbye.  She loves games!


I looked at my invitations and drew the picture onto a piece of poster board and colored it in.  I left a "blank" chocolate chip in the middle of the cookie.  Be sure to keep up with who gets the closest, but if you have someone who is dead center, you need to move it so the other ladies don't cheat by finding that chip and using it as a guide for their chip.  :)


Everyone had a blast, don't forget to have double sided tape, a marker, bandannas, and "chips" we just cut circles out of paper bags to save money.  Isn't it nice to be able to just have fun sometimes?


We also played guess the chocolate chips game.  I had Susan count the chips and the winner got to keep the jar of carob chips as their prize.  (Notice I put a matching bow on the bottle?)


When I plan showers, I always try to plan one game on paper, one group game (pin the chip on the cookie), and one ice breaker (guess the chips), and then I finish up with a fun game like charades or pictionary.  I had a hard time finding something that we could do on paper that matched my theme.  I finally found on Ebay a game called Grandma's Cookie Jar.  I took the same concept and printed up my own game.  On one side I had a description of a cookie.  For ex:  A young girl scout = brownies, This cookie does NOT stick to the roof of your mouth=peanut butter, This cookie is in the shape of a peanut=Nutter Butter.  The answers were on the other side.  It was a lot of fun, unfortunately I threw the leftovers away so I don't have a copy to give ya'll.

The last game we played was charades, I played this game at the end of the shower because not everyone likes these games and sometimes people just don't have time to stay.  I had never played charades before!  I kept finding different rules and stuff on how to play it.  We ended up just doing it as a group and who ever guessed correctly got to go next, however since Ebbye and Cynthia were so good, we started making sure everyone got a turn even if they didn't guess.  The funniest was when Susan did not put her glasses on and misread her clue and nobody could figure it out!


 This last one was the clue - baby blanket, but it was hard to get up out of the chair to clean up afterwards!   In case you had missed my earlier post about my skirt, by this time I had torn a big hole in the backside of my skirt and had to borrow a skirt from super skinny Pam, PTL she had one that was too big!  Can you tell that the shoes had come off?  I had taken my shoes off before the shower had even started and I was barefoot the entire time, but with my blue skirt you couldn't see my green and yellow toenails!
 I want to thank everyone for being such great sports and playing all of the games I had planned!  I have some miscellaneous details to blog about, about the planning stages of a shower and more recipes to come!  Thank you for joining me today, and be sure to let me know your comments!
Missy

Thursday, June 24, 2010

Milk and Cookies Shower - Decorations


I know I said I would talk about the rest of the food today, but I still need to get the rest of the recipes from my friends, so I will tell you about my decorations instead.  I was browsing through blogs and I came across the cutest cookies and milk first birthday party http://apartystyle.blogspot.com/2010/02/milk-and-cookies-party_10.html, then I found these cute baby showers: http://designdazzle.blogspot.com/2009/05/milk-cookies-party-baby-shower.html , and just knew I had to throw a cookies and milk baby shower for Kristi!  It was so cute!  I was going to do brown and white, with the tissue pom pom balls and everything.  Then two things happened:  1.  I found these plates,  2.  I found out how expensive the pom pom balls would be to make (a dollar a ball), and when you  are paying for most of the shower, that is just too expensive.  I really liked the paisleys and wanted to go with that theme and cookies and milk.   I looked in the scrapbook paper section at Hobby Lobby and found paper that matched exactly - it had to be made by the same company.


 I took two different size circles ( a glass and a small bowl) and traced out the circles on the scrapbook paper.  My DH sat there and cut them all out for me.  (Isn't he a sweetie?) I must admit that while I was cutting out all of this stuff for the shower, I was desperately praying for a Cricut!  That would have saved a lot of time!  :)  I then cut out different lengths of brown ribbon between 2 - 2 1/2 feet long.  I taped ribbon to the back side of the paper and then glued another piece of paper (the same size, backs together) onto the front.  This made my ceiling decorations and was a lot cheaper than the pom pom balls.


As you can see I did have some help with cutting out the ribbon!,  Squeeky had a blast with the one she stole from my pile!  LOL!


 I hung them above the tables, cookie buffet, and the "refreshment bar".
 I wish I had made just a few more, I had to get skimpy above my food areas.  I did not want to use plastic tablecloths because I thought they would look cheesy, but I could not find brown tablecloths anywhere!  This is a brown curtain, you can use anything for double duty, you just need to think outside of the box, and be creative!


My friend Pam, who was kind enough to open her home and let me host the shower there, had two blue tablecloths and was able to find two brown tablecloths at Ross.  This worked perfect since I had four tables!  In my sewing box I had three pieces of material that my friend Susan ironed under the hems and we used them as table runners to bring the colors together!  On the cookie buffet, I used brown valances to wrap around my cake stands and hide the purple and greens that would not have matched!  I would love some white cake stands!  We used my white dinner plates to serve the cookies on (thank you freecycle!).  I figured we always serve cookies on plates at home, so why not on the buffet? 


For my centerpieces I wanted to stick with the brown and blue theme, and cookies and milk.  (You can tell the second picture is at my house because of the penguins in the background!)  I couldn't find any flowerpots or buckets that were brown or blue.  I bought cheap 89 cent flowerpots from Target and covered them with brown tissue paper.  It took one sheet for each pot and I just centered the pot on top of the paper and pulled up all sides.  I used double sided tape sparingly on the top of the outside and inside to attach the tissue.  I wanted to be able to reuse the pots later.  I bought a lot of ribbon, some it was brown with white polka dots, some blue with brown polka dots and my husband bought me a bigger one that was reversible polka dotted brown and blue.  I used these ribbons on everything to bring the colors together, and they sort of matched the trim on the plates.  I gave the pots to my friend Chrystal and she made the cookie bouquets for me.  She used the no-fail sugar cookie recipe for the bottles http://cakecentral.com/recipes/2055/no-fail-sugar-cookies these are the best cookies ever, I make them all the time!  She bought a big baby bottle cookie cutter from Hobby Lobby and I love the way she made each bottle different!  She did need to use two sticks for the bottles.  For the giant chocolate chip cookies she used the round cookie pop pan from Wilton.  She used moss to top the cookie pots with, but some of it stuck to the cookies, so next time maybe just use tissue paper.  We handed the bouquets out as prizes also.  Double Duty!


 For the refreshment table I bought a huge ice bucket (I splurged on this because I knew I could use it again) and put my ribbon and bow around it using double sided tape for easy removal.  This way I can make it match any color scheme!  I had wanted to use glass milk bottles everywhere, but they are impossible to find without paying an arm and a leg.  Chrystal found some at a yard sale she let me borrow.  We put tea and water in those bottles and used my white pitcher (I have started buying everything in white so I can use them for any occasion) for the strawberry milkshakes.  (Thank you Cynthia and Renee, they were delicious!)


 I did find one brown bucket at goodwill for a dollar.  I decorated it with ribbon and put blue straws (I found them in the dollar bin at Staples) and forks in it.  I did snag the forks from church rather than buying matching forks.  You HAVE to have straws to drink milk shakes don't you?  Notice the scrapbook paper I put underneath?


 We had a hard time finding a place to put the banner, but a lot of time and effort went into this banner, so it was gonna go up!  We tried to put it on the fireplace but it wouldn't stick to the brick.  I had Susan cut the circles out of paper bags (another money saver!), then Chrystal and I drew the chips on them, and Cynthia crumpled them up to make them look like cookies.  My husband helped me figure out how to print the letters out on the computer then helped me cut them out (what can I say?  God gave me a great hubbie!  Do you think he might buy me a cricut now?  maybe - if they weren't so expensive!)  I glued them onto the cookies, then I was running out of time and Cynthia took them home and put the ribbons on for me.  That is what I call team work and some great friends!  :)

I also put small bowls with tea lights and chocolate chips on the table and cookie buffet.  I used the large part of the bowls to cut out circles of my paisley paper and then put the bowls on top. 
Wow, makes me tired thinking about it all again.  I think it is obvious that I even though I was hosting the shower, I did a lot of delegating and had a lot of help!  Don't be afraid to ask for help, that is what friends are for!  Thank you everybody who made this happen!  Tomorrow I will tell you about the games we played, and boy do I have some funny pictures!
If you have any questions or suggestions, please drop me a note, I would love to hear from you!
Thanks,
Missy
"Oh taste and see that the Lord is good: blessed is the man that trusteth in Him." Psalm 34:8