I have been seeing these ruffle purses around for for a couple of years, even have a pattern for one. I look at tutorials and patterns, then do my own thing(because I have trouble reading patterns). I have been wanting to make one, but just never did. One thing I really wanted was a pocket on the outside for a bottle of water. I live in TX and it gets pretty hot, so I like to have my water handy. I needed to figure out a way to put a pocket on the side without the ruffles being in the way. This was not easy to do, I still messed up, but this is what I ended up doing. I also wanted a draw string for the top since I will be traveling this summer, I didn't want a pick pocket!

I made 8 ruffles, four for each side. You can choose 1, 2 or 4 different fabrics. I wanted to use these fabrics below. I was not sure how I wanted to arrange them, but thought the pink and yellow gingham would be a lot of fun with the fruity material. (I only used material from my stash, and since I bought the fruity material on clearance a couple of years ago and the rest was given to me, I'm sure it cost me under $5 to make). I remembered I had the green linen and thought it would make a good base and lining for the purse.
After I started cutting the fruity material, I realized that when I folded it in half I had two different patterns, the cherries and the fruit, so I decided to just use the same material for all the ruffles. I cut the ruffles 6 inches by 30 inches, which was the width of my fabric.
I could have used my ruffle foot to make the ruffles, but I wanted them to look a little more random. In a couple of photos above you can see on the top two ruffles I made them in a tube (casing)and turned them wrong side out so the top and bottom would have finished edges, the other size ruffles were just folded in half since the top of them would not be seen.
I cut the base of the bag and lining 15 1/2 inches by 24 inches. I really should have cut the lining 15 inches by 23 1/2 inches for a better fit. I used heavy interfacing cut the same size as the outside of the bag. I used pieces that I had and sewed them together, the interfacing will give shape and stability to the bag. I basted it onto the outside of the bag, around the edges. It will be sewed on better when the ruffles are sewn on.
Here comes the tricky part, it took me a whole day to figure out the side pocket for my water bottle. How to put a pocket on the side and not mess up the ruffles? I thought if I put a flap on each side of the seam I could sew the ruffles straight across the pocket and then sew the pockets together.
Here are the pocket flaps when the bag is opened up. I made the flaps 6 1/2 x 8 in. I cut two pieces and sewed them two inches from the side and 1/2 inch up from the bottom. I actually only need one flap, I had to cut one off at the end because I messed up, and it was two big. That's okay I sewed the other flap on the other side and made a pocket for my prescription sunglasses. It would be easiest to make the width of the bag half the size and sew the sides of the pockets together before sewing the sides of the bag together, or you can make one flap for each side.
I highly recommend drawing lines across the bag to make sure your ruffles are straight and evenly set a part. I started measuring at two inches from the bottom of the pocket. I set my lines every two inches. Go ahead and iron down the top of the bag, this will give you a smooth finish at the top of your bag. I ironed them down about the width of my forefinger, I guess around 1/4 inch to 1/2 inch.
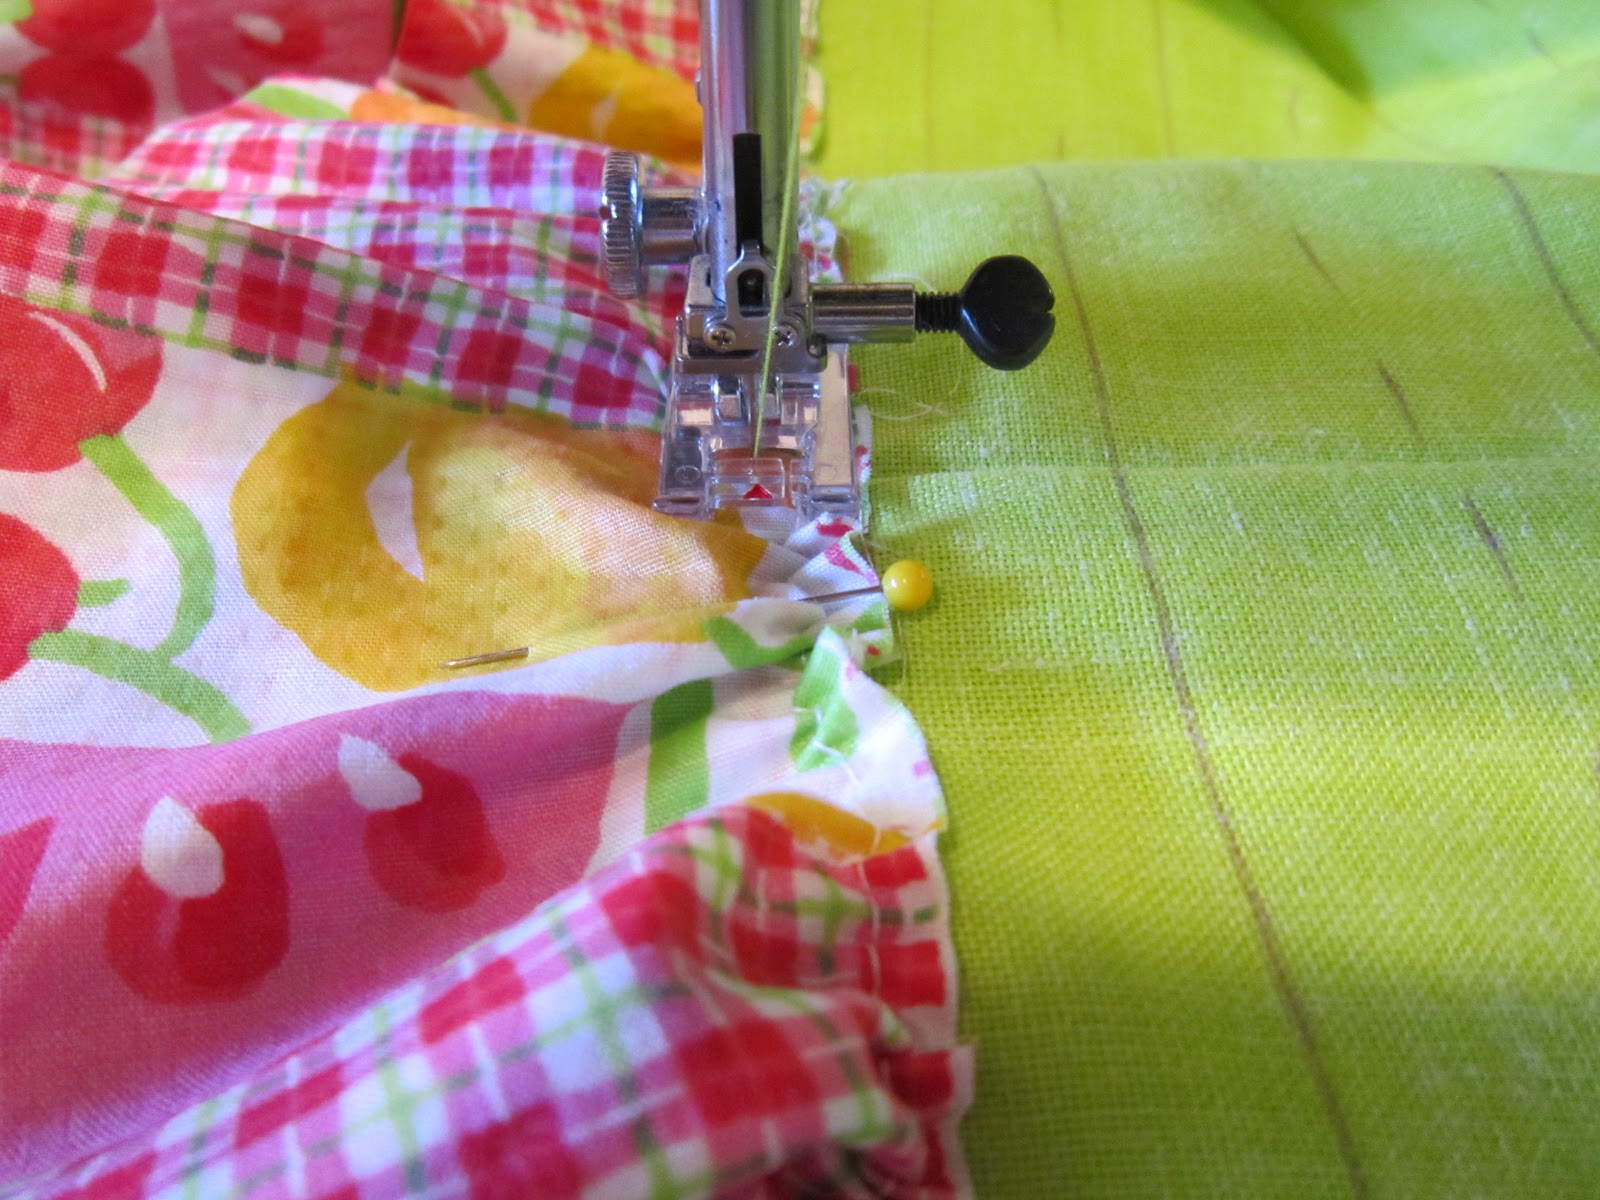
I opened the bag and pinned on the ruffles starting at the bottom on each side. You can see how I sewed across the flap and not onto the part under where the pocket will be. Remember to sew one flap on each side of the bag instead of the way I did both on the same side(unless you cut your flaps in half), this will give you two pockets, one on each side of the bag of the bag.
After folding my ruffles they were three inches wide and had about a 1/4 inch seam when sewn on.
I sewed the last ruffle at the top of the pocket, make sure you end with the ruffle that is made from the tube.
To make the casing for the drawstring is pretty easy. I cut the pink gingham 15 inches by 4 inches and sewed them right sides together. After turning the casing right side out, I folded the ends in and sewed them together. I then just sewed the top and bottom of the casing leaving the ends opened. The casing ended up being about 13 1/2 inches long. You want room on the sides to sew the bag together and allow room for the ties. Make sure you have a couple of inches at the top to allow room for gathering the ties. I wish I had allowed my top to be a little bigger.
Here is the inside of the bag after sewing everything on. You don't have to worry about the interfacing moving!
Here are the pockets with the ruffles sewn on.
This was my mistake, I sewed the pocket the next day and totally messed it up. If you are sewing the two flaps, do not sew the bottom of the pocket. This is what the sides of the bag will look like before sewing together.
The correct thing to do next, (with one flap instead of two), go ahead and sew the sides of the bag together on both sides, keeping the flaps out of the way. (can you see where I had sewn the two flaps of the pocket together first?)
Pin the bottom ruffles out of the way also. I pinned my ruffles down before sewing the sides of the bag right sides together. I'm not much of a pinner but I did pin the bag because there are so many varibales to watch while sewing. (the ruffles, pocket and top of the bag lining up). It wasn't perfect, but worked.
Next, I wanted to "box" the bottom of my purse. I took the edge and flattened it, making sure the ruffles were not in the way. I went up about an inch and sewed straight across. This gave me a box look on the bottom of my purse.
To make the pocket is kind of hard the way I did it. I cut one of the flaps off since it was so big and sewed it onto the other side of the bag. I sewed the pocket down as for as my sewing machine would go and finished up by hand sewing along the bottom and the part of the side my machine would not reach, If the bag had two pieces instead of one I could have left the bottom to sew last and would have been able to sew the entire pocket without any problems. This was a learning experience for me!
I like lots of pockets! I had cut two pieces of gingham to make pockets going across the entire length of the the lining. I also basted interfacing onto these pockets since they were so flimsy. I cut them 15 1/2 inches by 7 1/2 inches. I measured three inches from the top of the bag and two inches from the bottom of the bag to determine where to put the pockets and how tall to make them.
Before sewing the long pocket on I added smaller pockets. I had leftovers, so the pockets were not really measured. I sewed a pocket onto teach long pocket. I made the pocket below to0 close to the edge and sewed up a lot of it when sewing the bag together.
I had these three pieces leftover from an apron I had made and sewed the tops down to finish them, then zig-zag stitched around them instead of folding them under and stitching. It's not like anyone would see them.
When I sewed the long pockets on, I turned them upside down and laid them across the line that was two inches up from the bottom and sewed across it.
I forgot to take a picture, but then I sewed about three lines up the pockets to make more pockets. I left one pocket pretty wide on the yellow gingham where the pink paisley pocket is. I am going to add a flap here, so make sure you do that now if you want a big pocket. The pocket flops open too much.
Can you believe all of the pockets? 14 inside and two outside!
Next I worked on the ties for the handle and the drawstring. I took three pieces of the fabric and braided them together. I just pinned it to my skirt like I did with friendship bracelets when I was a teenager. For the draw string I knotted one end and then ran it through the casing and knotted the other end. For the handle I did not knot (Okay, I laughed when I typed that!) the ends because it is easier to sew without the knots. Be sure to sew across the braids before threading through the casing or sewing on the bag.
I cut 3 strips of fabric about 37 inches long and three inches wide. I realized for the handle that it was not wide enough, so the second handle I cut the strips wider, the wider the strips the bigger the handle (I highly recommend cutting them 4-6 inches wide for the handles), I made two handles for stability, but sewed them next to each other as if they are one handle instead. I like the look. You can see what I'm talking about in the bottom picture.
I sewed the lining together right sides together, (which is correct) but turned it wrong side out (which is not correct, as you can see in the picture) so I thought I made a mistake, ripped the seams out, sewed it together wrong, only to realize I did it right the first time, ripped my seams out and resewed it! LOL Don't forget to box the seams of the lining also.
You are now ready to sew the handles on and sew the lining to the bag. I put one braid on each side of the seam (I did not put them on the seam to reduce bulkiness). Make sure the braids are not twisted.
I pinned all the way around and then sewed it together!
Stick your water bottle in your pocket and you are done!
I have plenty of room for my hand sewing also!
http://missyscakesandaprons.blogspot.com/2012/05/color-question-and-traveling-kit.html
I love the fact that I can either leave the bag open to stick more stuff in, or close it with the draw string to make it smaller. It is perfect for my vacation and all my summer activities!
How to make a ruffle:
http://missyscakesandaprons.blogspot.com/2010/08/how-to-make-ruffle.html
Why I suggest the lines for the ruffles, they were crooked on my ruffle dress for my niece:
http://missyscakesandaprons.blogspot.com/2012/03/easy-ruffle-dress.html
How to make casings:
http://missyscakesandaprons.blogspot.com/2011/06/easy-casings.html
For more purse ideas, visit my pinterest board!
http://pinterest.com/missyshay/purses-bags-and-wallets/ If you need an invite to pinterest let me know!
I hope this tutorial made sense, if you have any questions or suggestions please share! It took me a week to figure out how to make this purse, but I couldn't be happier with it!
Missy