
Okay, I have been asked several times why I would want to crochet an apron for my dish soap bottle? My answer is why not? :) It's small, cute, quick, and a great learning tool!


So let's go make an apron!
Missy

Homemaking, Baking, Cake decorating, Sewing, Quilting and Serving God!


 I had doubled my recipe, and I only had one cup of buttermilk left, so I had to make the other half with soured milk. To make soured milk you can use either white vinegar or lemon juice. I took one tablespoon of lemon juice and put it into my measuring cup and added my organic milk to the cup to make one cup of liquid. Make sure you use a liquid measuring cup for liquids and a dry measuring cup for dry ingredients or your measurements will be off.
 There is a difference between whole wheat pastry flour and whole wheat flour. I always use organic flour. The flour on the right is whole wheat pastry flour and is a lighter flour and does not have as much gluten. It makes a lighter cake then regular whole wheat which is on the right. Never use whole wheat pastry flour for bread making because there is not enough gluten. You can use whole wheat flour for this cake, but it will have more of a cornbread consistency.
 If you do a lot of baking, make sure you invest in a good sifter, especially if you use wheat flour. You put all of the dry ingredients in the sifter and sift them together. Whole wheat flour will have granules left in your sifter, THROW THESE AWAY, do not add them to your batter if you want a fluffy cake! Okay, now on to the directions for the cake! :)
 Make sure all of your ingredients are at room temperature. (Just pull everything out before you get started, this also helps to make sure you have all of your ingredients). Preheat the oven to 350 degrees. Grease or line your pans with parchment paper.
 (I always use three bowls to separate my eggs. The middle bowl I pour my whites into from the egg shell, and then pour the yolks into the left, and pour the whites out of the clear bowl into the bowl on the right. This is in case a yolk breaks, I don't have to pour my whites out and start over. I throw the shells into a bowl for my husband to give to our wild birds outside.) In a large bowl, sift or whisk together the flour, baking powder, baking soda, and salt. Cream the butter with the sugar until light, about 4 minutes, scraping down the sides of the bowl as necessary. Beat in the egg yolks and vanilla.
  Beat the egg whites until stiff and set aside. (do you notice how the egg whites can stand on it's own?) Add a third of the flour mixture to the butter mixture, just to blend, then add half the buttermilk. Repeat with another third of the flour, the rest of the buttermilk, and then the rest of the flour. Gently fold in the egg whites. (DO NOT OVER MIX YOUR CAKE BATTER OR IT WILL BE TOUGH!)
 Pour the batter into the prepared pans and bake until the cakes are puffy and a tester comes out clean, about 20 minutes. Cool the pans on a wire rack for 10 minutes, then remove the cakes from the pans and allow them to cool directly on the rack. (This is why I like Wilton's bake easy or even the cake release from Pam, I used the old fashioned grease and flour techniques, and they stuck and broke apart.) I used Wilton's flag pan and 1/4 sheet pan.
 I had a hard time frosting the cake because it was so crumbly, which is why I hid the sides with a zig zag border that covered the whole side. I was not very worried about the middle since I knew the flag cake would cover it up. I used "fluffy" icing which does not crust. It tastes good, but is not as easy to get smooth as regular buttercream.
 This was my first time to work with an airbrush, I do a lot of my experimental cakes on my friends at church! I don't think they mind too much eating my experiments! My husband said to always hold your airbrush like you would a pen or pencil and slowly work the little lever. (I really do need to take an airbrush class!) I covered my table to keep my table clean, and that night I noticed that the bottom of my feet were blue, I must have dropped some coloring on the floor, and I never wear shoes at home! LOL


 I was on my way to church, and even though I washed my hands after this picture was taken, they were still pretty red and blue! I was still doing pretty good on time for church. I needed to grab a piece of shelf liner to keep my cake from sliding, and I knocked an Izze over which landed on the ground, the lid popped off and and it squirted all over my shoes, up my dress, all over my arm and face into my eyes! I had to splash my face with cold water to get the Izze off. I did not have time to change clothes, but I was on time for church! LOL!
 A couple of pointers I learned: 1. Make sure your parchment paper covers the entire board or your edges will be blue. 2. Airbrushing highlights every imperfection of your frosting job. I have to tell you the finale of my cake story. For those of my friends who know me, they know sometimes what I am thinking in my head -does not come out of my mouth. I held up the cake before I cut it at lunch time so everyone could see it first. I wanted to say: "Here is your Independence Day Cake", (remember that I go to a Baptist church and that my voice carries), What I said is: "Here is your St. Patrick's Day Cake!" I still don't know why that came out of my mouth, but everyone sure got a good laugh about it! Did anyone else have any interesting stories from this weekend you would like to share? Any comments about my cake or questions? If you have any airbrushing hints I would love to hear them also please, I can use all of the help that I can get! I would love to hear from you so be sure to leave a comment!


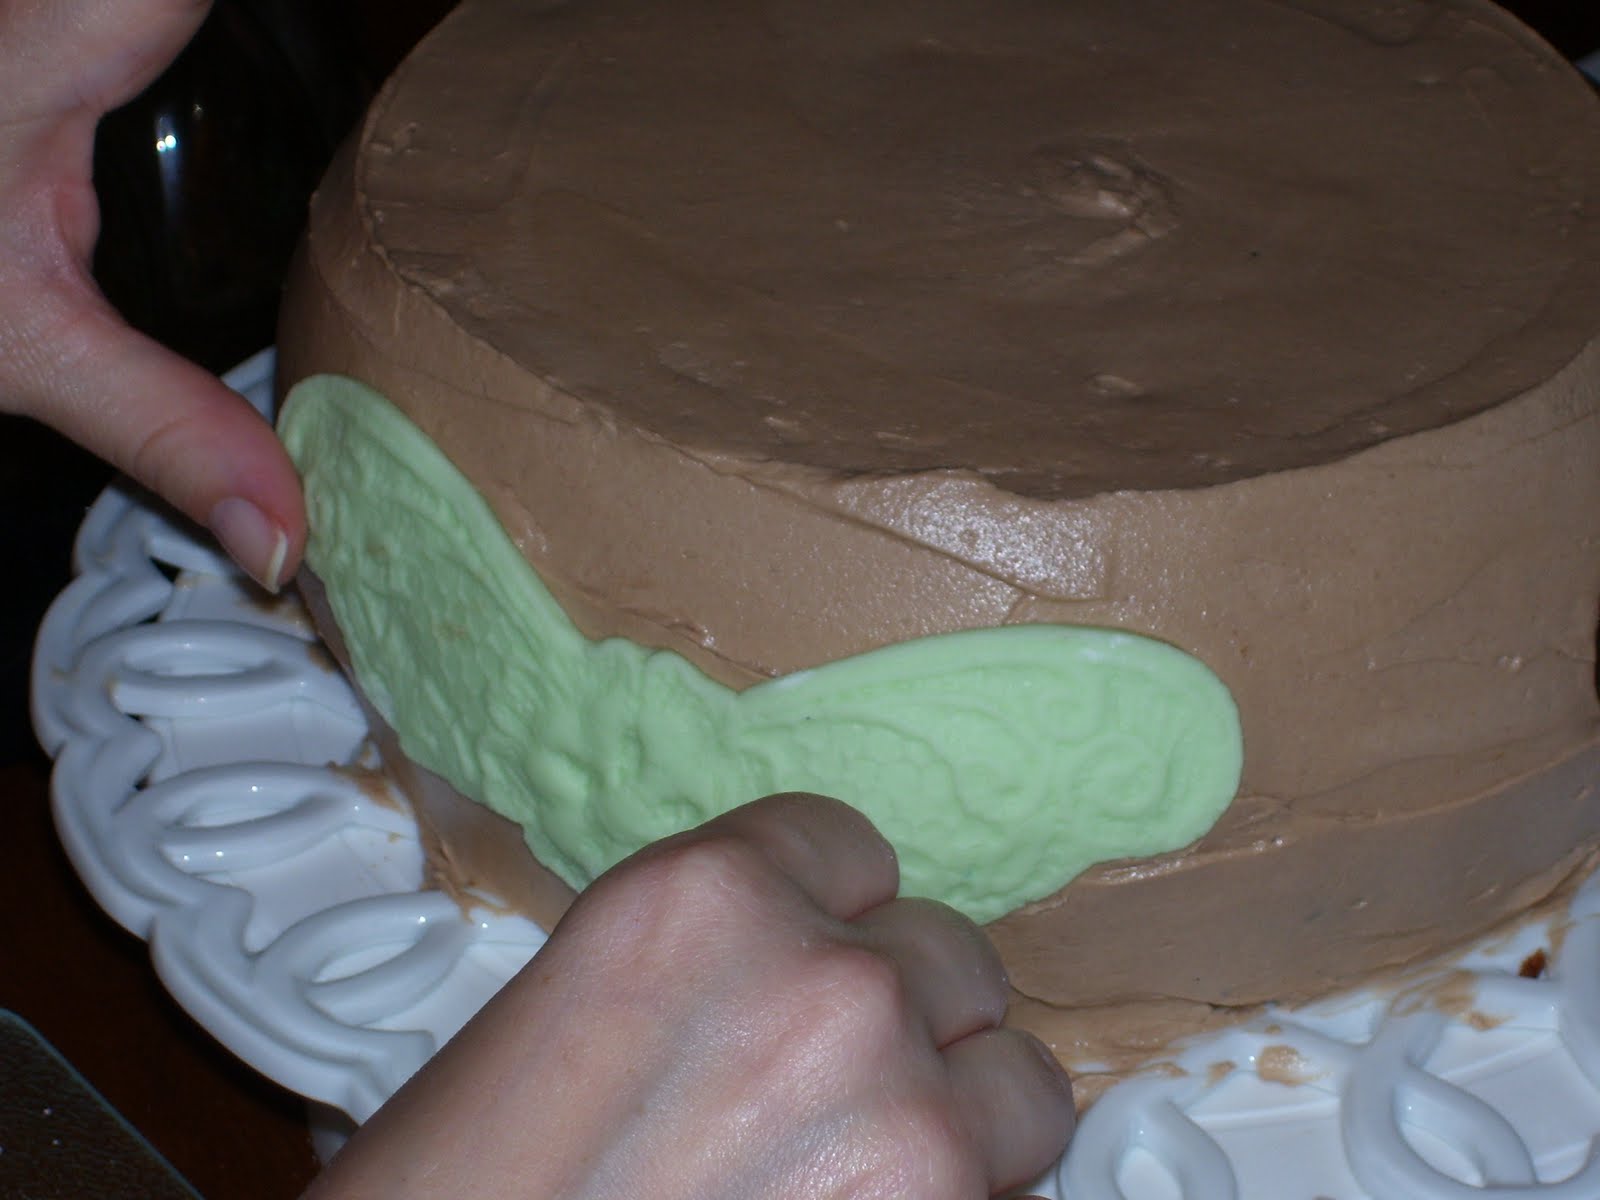


 Then I “smooshed” the fondant into all the crevices of the mold. I then took my roller and rolled the fondant smoothly into the mold.
 I used my spatula to take away any extra fondant. The fondant peels out of the mold very easily.

 I centered the lace where I wanted it to go and pressed it gently onto the cake.

 I rolled my fondant out onto the board. I then gently pressed the mold onto the fondant. Do not use your roller, it distorted the image.


 My friend Clarissa is an amazing cook and mother. (I wish I had a picture of her cooking!) She has five children, here are her two girls, and when you have that many kids you have to know how to cook. She doesn't like to bake though. I needed someone to make the favors for the shower and I knew she would do a great job. I wanted cookies as favors, I was thinking simple chocolate chip cookies in bags tied with brown ribbons. I had not really thought about it, so I gave her my idea and let her run with it. She surprised me by making three different kinds of cookies, and they were delicious! She said she wanted something simple with very few ingredients, well these were great!

 Cynthia made the milk shakes and then we put the milkshakes in my white pitcher which was sitting in a bucket of ice. Renee made homemade strawberry ice cream and Cynthia just did half milk and half ice cream for the milk shakes. Since we were adults, and milk is expensive I thought the milk shakes would be a big hit for the "milk" part of my theme. We also had tea and water in milk bottles for our friends who did not want milk shakes.
 Since I was busy baking and decorating the cake and planning the shower, I did not have time to bake cookies also (If I could have gone without sleep I might have been able to), so I passed a list around Sunday School and asked my friends to help out. Miss Debra made her famous homemade carob Oreo cookies (you can find the recipe in a previous post), Chrystal , who had made the cookie bouquets, made carob chip cookies and sugar cookies, and Julia made some type of coconut cookies. I must admit I was kind of worried when I saw that we only had four kinds of cookies, but the Lord blessed and we even had leftovers! I put the cookies on white dinner plates from home, I figured since cookies are usually served on plates at home it would be fitting!
 First, let me say that I have no idea why the picture rotated once I downloaded it for the blog, but I have no idea how to fix it! I used my my printshop program to make the invitations, banner, games and everything else. I love Printshop because it is easy for me to use(and I am not very computer savvy!). I put our theme verse for the shower, "O taste and see the the Lord is good, blessed is the man that trusteth in Him." Psalm 34:8, on the front of the invitation to set the mood for the shower. Inside the invitation I asked all of the ladies to bring a bag of cookies for Kristi to put in her freezer to feed her family sweets, who wants to cook when they are pregnant? I also printed the gift list on the blank side of the invite.
 Siouxsie did a great job with the gifts for the games! She wrapped her gifts in brown paper bag that had chocolate chips drawn on them and crumpled them to look like cookies and wrapped up the gifts in a round shape. Aren't they cute? I put them on the tables so everybody could see them. Since we had the cookie bouquets also, I gave them a choice of a "surprise cookie" or a cookie bouquet.
  We had one extra "cookie" gift left and I shamelessly asked Siouxsie if I could have it. Aren't these jewelry sets pretty? Cynthia, my neighbor, also got one so I had her let me borrow hers for a picture with mine. There were two other designs also. My heart has a prayer on it asking God to hep me walk in His path, and Cynthia's necklace and earrings says "With God all things are possible", Susan's is a circle and has the Lord's prayer, and Sherry's has the teacher's prayer on it. I don't like the showers where you are expected to give your prize to the guest of honor, what's the fun in that? After all she gets all the gifts we brought her.

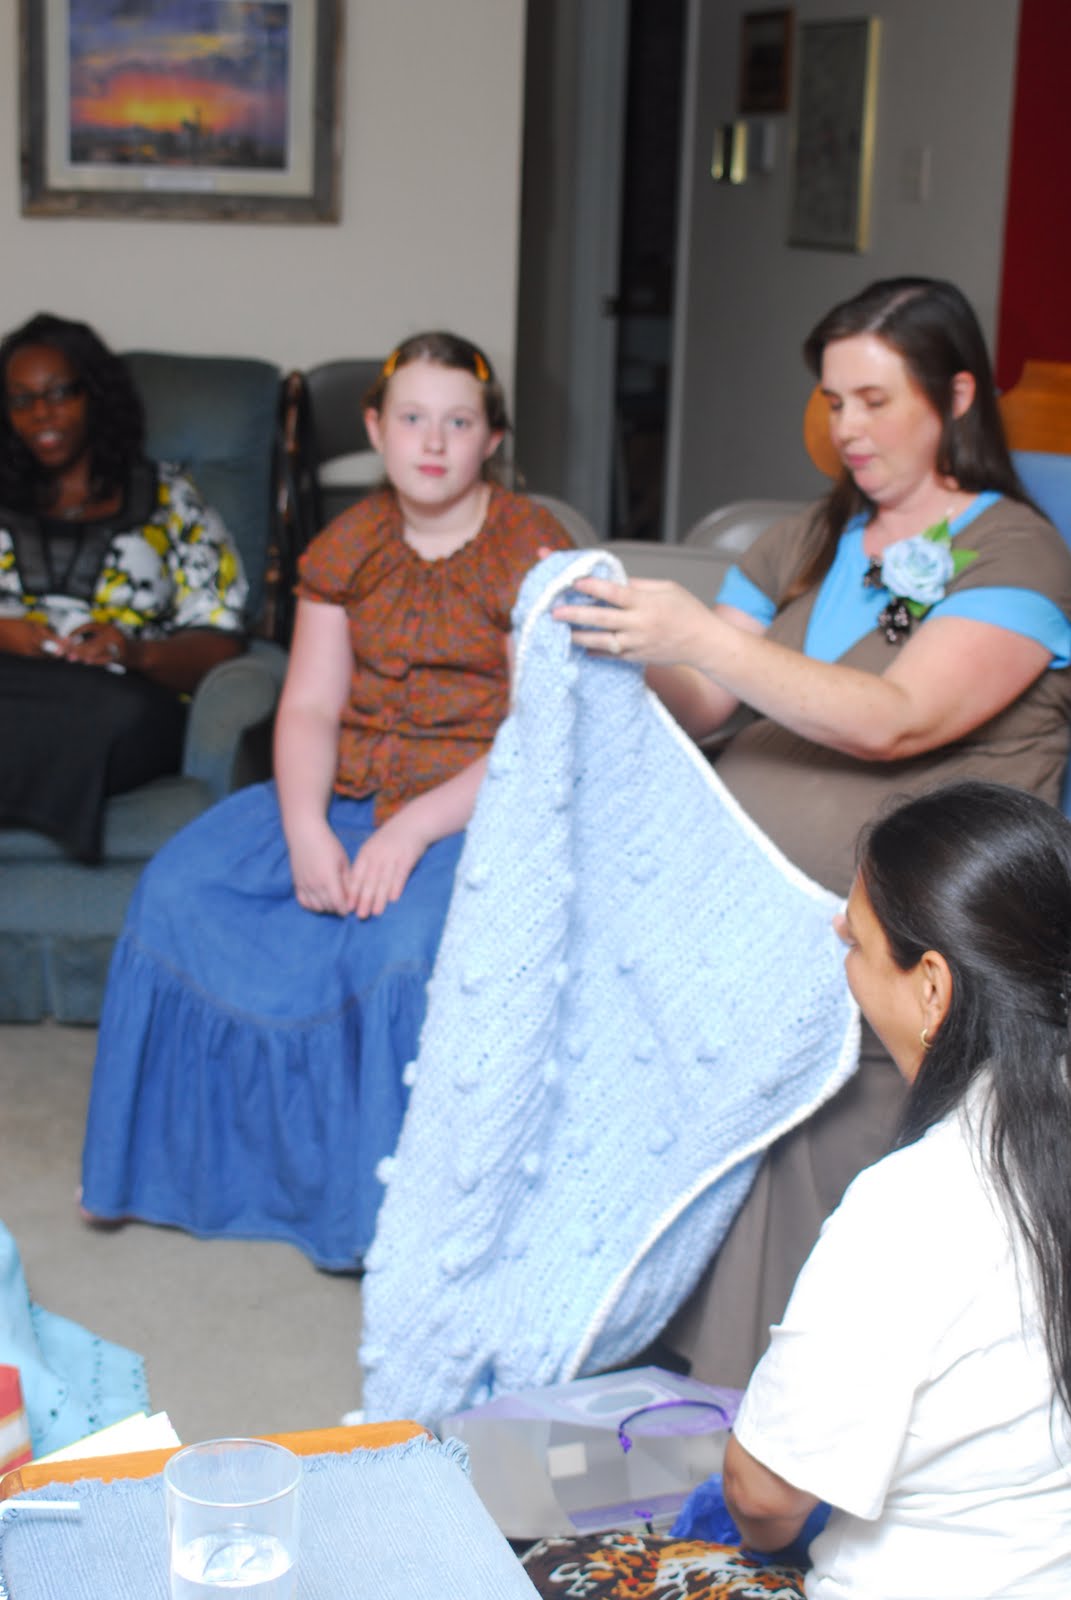
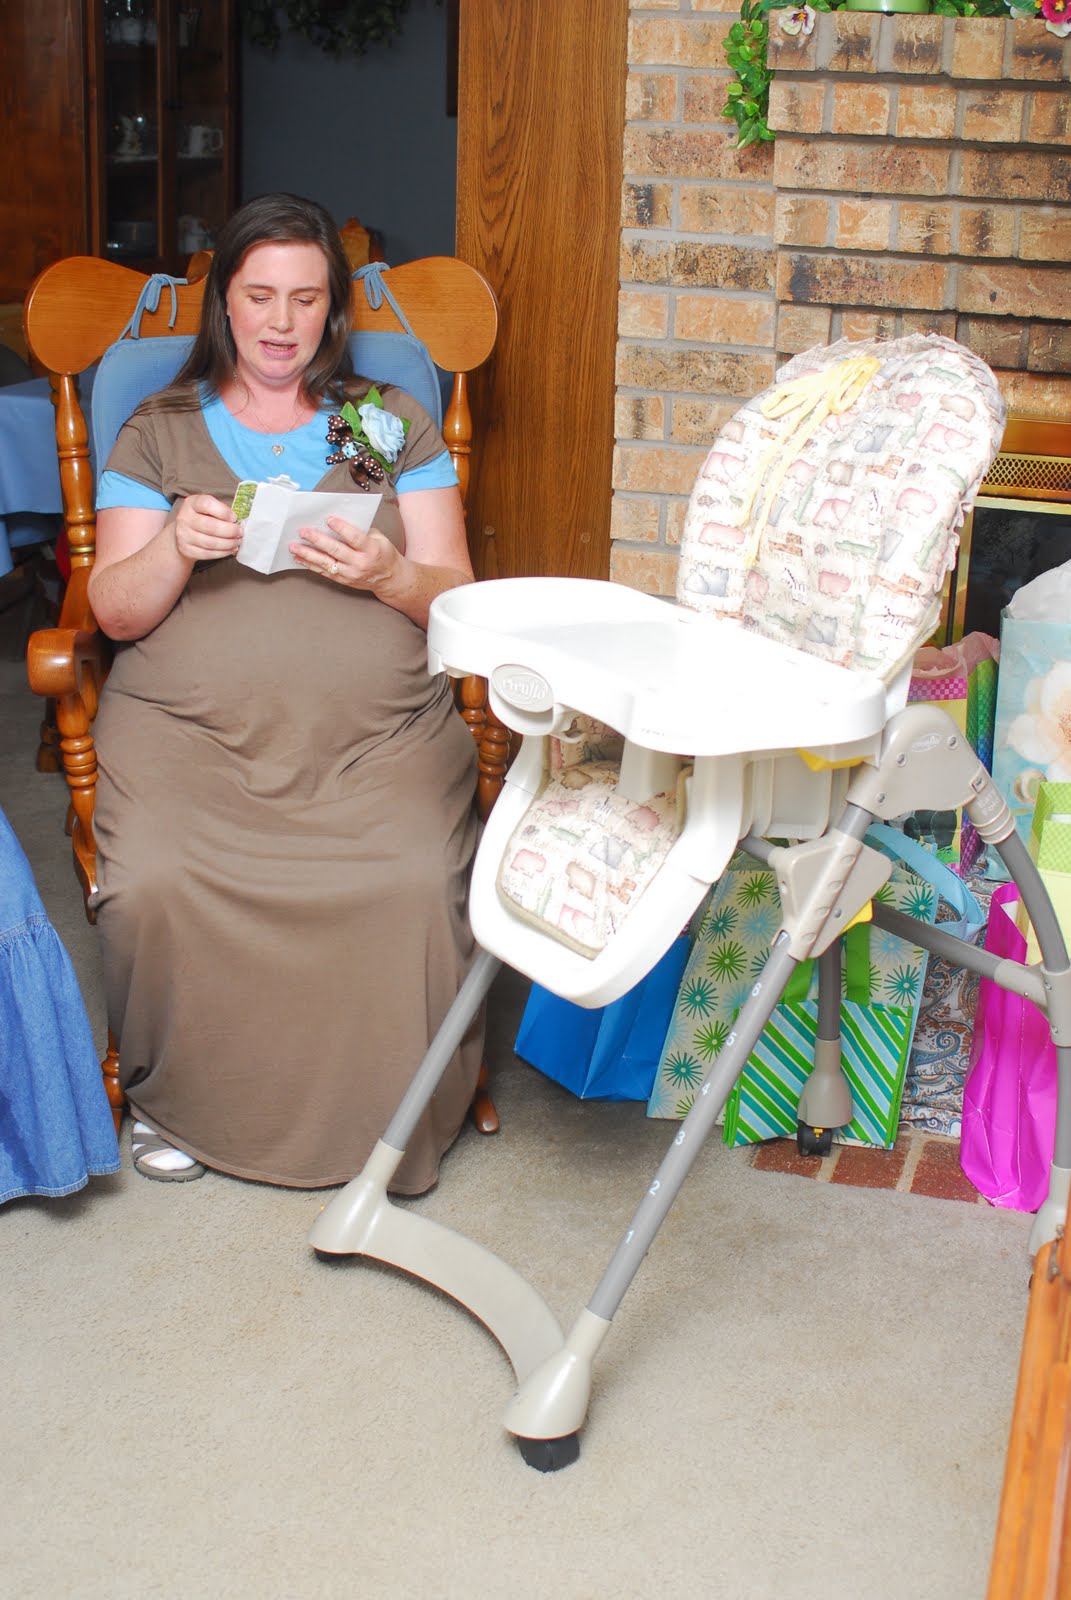


 I wanted her to have a corsage, but I did not know how to make one. I bought all the stuff and Cynthia made the corsage for me. Now that I think back, I should have looked in the scrap booking section and bought some charms that have cookies and milk to hang from the corsage also.
 That is all of my pictures of the shower, now I want to go over just a few ideas for planning a shower. First, start early. As soon as I found out Kristi was pregnant I started planning what theme I wanted to do for her shower. Use the Internet for ideas; blogs are a great resource! After I had decided on a theme, I started planning the cake, which I had to redo after I found my paisley and polka dotted plates. I asked for help. People might not want to help plan or host a shower because of time or money, but they are usually willing to do one thing. As you can tell from my posts, I'm pretty good at delegating. Was everything done exactly the way I wanted? No, but that's okay, this way everybody was a part of the shower. Every shower does not have to be done the same way, just because "that's not the way we usually do it" is said a lot, it doesn't matter. You are giving the shower, do what you think the guest of honor would like. That's another thing, you might like the theme of cute little baby mice, but the mom-to-be might be terrified of mice. This party is for her, not you! Planning is essential. Type up a "schedule" for the shower and give it to the co-hosts and everyone who is helping. This will help you not to forget to play one of the games or something. I was constantly referring to my schedule to remember what to do next!
