"She looketh well to the ways of her household, and eateth not the bread of idleness." Proverbs 31:27

Wednesday, June 23, 2010

Milk and Cookies - the cake (plus recipes)


Hello again!  Yesterday we talked about how I made my pregnant Mommy for the top of my cake.  Like Paul Harvey would say:  "Here is the rest of the story!"  I hope when you read that it sounded just like Paul Harvey in your head - it did for me when I wrote it!  :)  I guess you younger people have no idea what I am talking about though!  LOL

Kristi got married last year and she wanted a strawberry wedding cake made totally from scratch without the jello that most strawberry cakes are made from.  I could not find one anywhere so I just made her a white cake with a strawberry buttercream filling  Here is her wedding cake:


What a privilege it was for me to make her wedding cake and baby shower cake!  For her baby shower cake I found a from scratch strawberry cake here:  http://homesicktexan.blogspot.com/2010/05/strawberry-sheet-cake.html.  I also adapted Paula Deen's strawberry cream cheese frosting for the filling.  http://www.foodnetwork.com/recipes/paula-deen/simply-delicious-strawberry-cake-recipe/index.html  I needed a brown back ground, so I made my fluffy icing (you can find the recipe on my blog) and added two tablespoons carob powder in with the sugar (she can't have chocolate since she is pregnant).  I'll give you my adapted recipes at the end of this post.

I knew I wanted a two tiered cake and I loved the fondant ribbons and bows for the border. I found these plates at Hobby Lobby and knew they would be perfect for the shower!  I absolutely loved the brown, blue, and paisleys.  I could not decide if I wanted to do the paisleys in fondant (which I knew would look better, but none of my friends liked), or if I should just pipe them.  The whole cake would have looked awesome covered in fondant, but since none of my friends liked fondant I went with buttercream.  Next time, the paisleys will be done in fondant.  LOL!  I can be vain sometimes when it comes to my cakes.  :)


First I made my two nine inch and two six cakes using my strawberry puree which I used for the cakes and the filling.  The strawberry cake was very dense like a banana cake is.

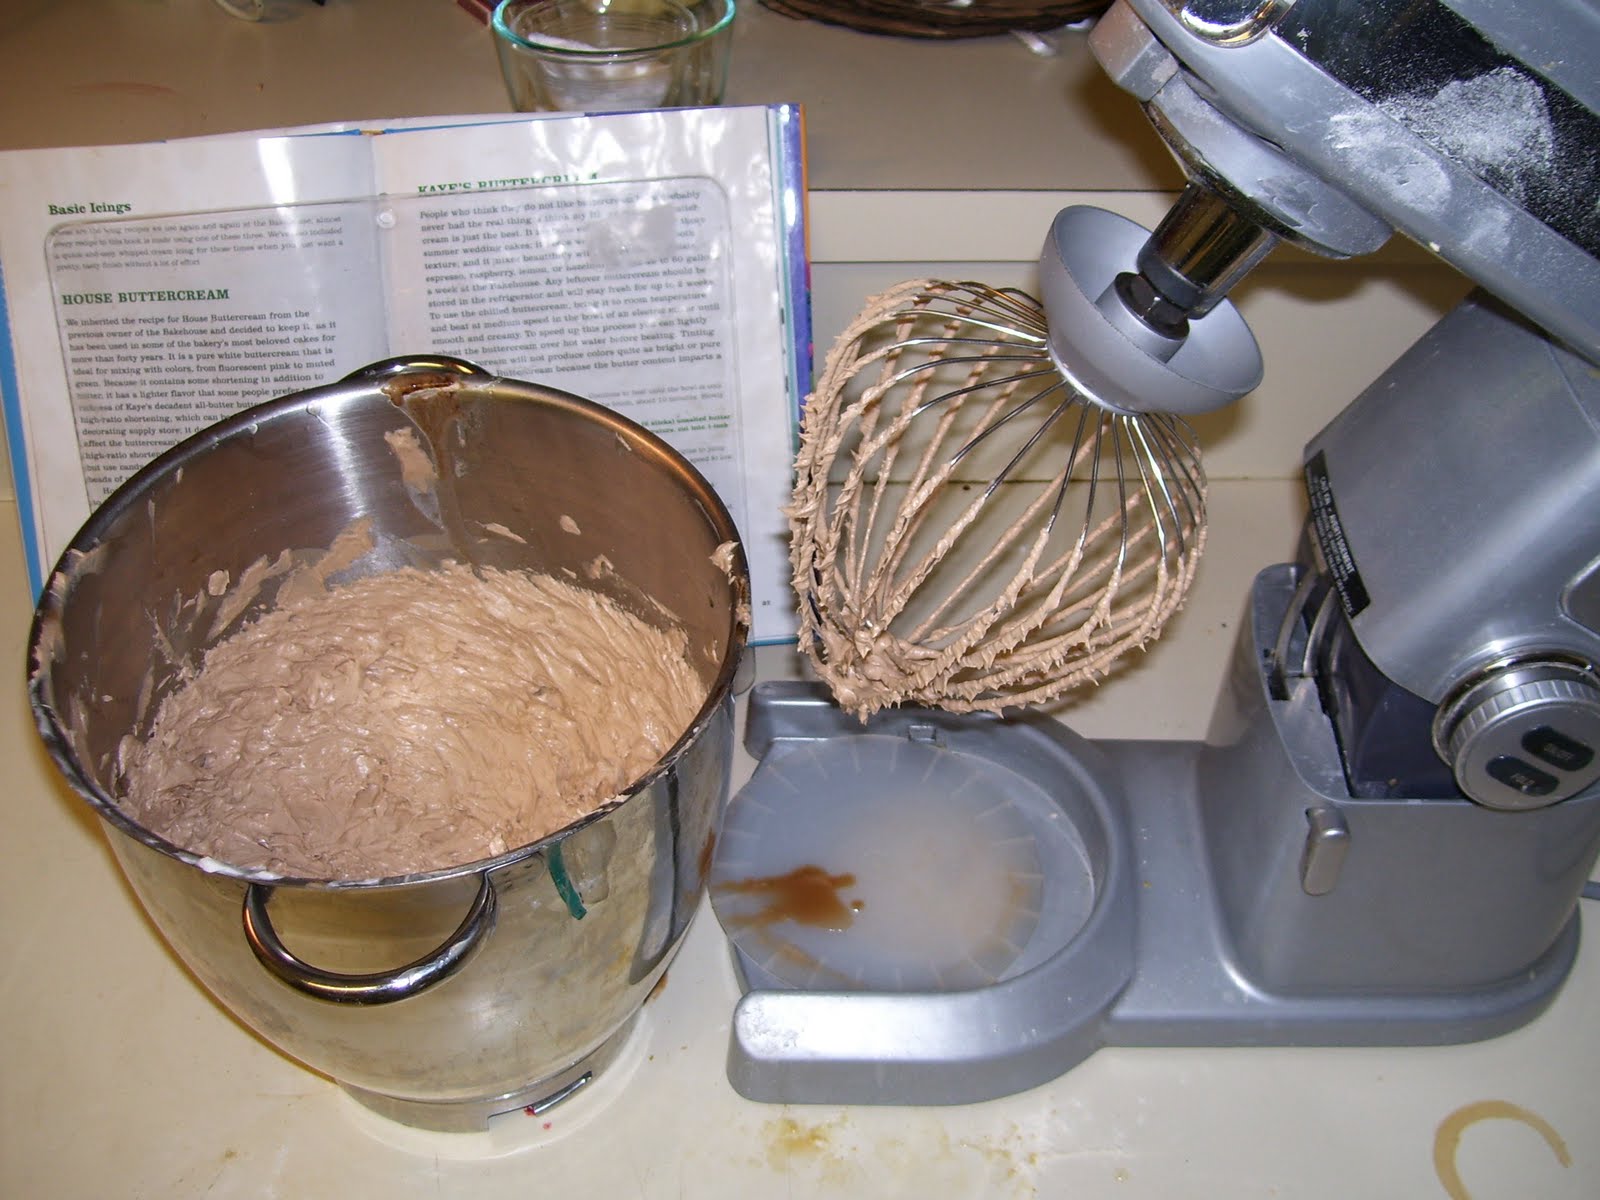
I made my filling which I definitely changed up from Paula Deen's, my frosting (yes I still have to jog my memory by looking at the original recipe) and then I filled my cake by first making a circle on the outside with my buttercream to hold in the filling.  I skipped this step once and I had filling oozing out of the side of my cake- yuck!  I then put the two layers together and then iced my cakes smooth.  Does anyone else think getting the frosting smooth is the hardest part?  It takes me forever! 
 I almost forgot to mention my cake plate covering!  Did you notice the paisley paper under my cake?  I found matching scrapbook paper from Hobby Lobby and I cut one out the size of my plate and laminated it.  I then stuck it on with double sided tape!  I wish I had used a thicker cake plate so I could have put some of the matching ribbon around the edge.


Be sure to mark where your 6 inch cake will be placed.

Then take your dowel rod or heavy duty straw and mark the size you need.
I found my straws at the Austin Cake Show.  They are from Straws by M Inc.  strawsbym@comcast.net . I have only used them on small cakes so far, but I really like them because they are easier to cut than regular dowel rods.  Since this is such a small cake, I only cut three pieces for my support.  I made two cake recipes, but because it was so dense, it was not very big.  I then stacked my two tiers.  Normally I would hide my plastic cake separator with the border, but since I was doing fondant ribbon I had to try to smooth

some brown over it and blend it in.
Next I made my fondant ribbons. I made the blue the same color as her dress and the trim on the plates. I smoothed it out in my pasta maker. (Thank you dear husband, I love it!)

Be sure to wash the pasta maker first, or you will have black streaks in your fondant.  After you flatten your fondant, lay it on the table and cut it the width you want, make sure it is long enough to go around the entire cake.


 After placing the ribbon on the cake I made the bow.  Since it was a small bow, I did not make it ahead of time.  It was also standing on it's side, so I was not worried about it falling.  As you can see in the photo above, I pressed the two pieces together where it joined (use water or extract to glue) and then used a small piece of fondant to drape over it to make the "knot" and hide my thumbprints.  I then attached them to the ribbons on the cake.  After I piped my paisleys, I put white dots on with regular buttercream to make them match the trim on the plates.


I piped the paisleys one color at a time, layering them.  I tried to make the design look like the plates.


 I really should have made the orange and brown a darker color.  I also should have used a smaller tip for piping the details, and practiced making the paisleys before I piped them on the cake.  Some of the paisleys turned out nice, and some of them not so great.  I will know for next time though!  I hope you can learn from my mistakes!
Here are the recipes I promised you:
Strawberry Sheet Cake adapted from the homesicktexan.com

Ingredients:
12 oz. fresh strawberries, stems removed and chopped (about 3 c)
2 cups of thot not sugar (granulated palm sugar)
2 cups of flour
2 sticks of butter (1 cup)
2 eggs
1/2 cup buttermilk
1 tsp of baking soda
1 tsp real vanilla (not imitation)

Method:
Over the chopped strawberries, sprinkle 2 tsp of sugar (thot not is not as sweet, so next time I will do 2 tbl) and 1/4 cup of water.  Let them sit for an hour at room temperature so they can release some of their juices, or if you do this step the day before let them sit in the fridge overnight.  In a blender or food processor, crush the berries on a low speed for a few seconds-you want them juicy but still with some texture.  Take 1/2 cup of the strawberry mixture for the frosting and leave the rest for the cake.

Preheat oven to 400 degrees.

Sift the sugar and flour together in a bowl.  Do not skip this step!

Melt the butter on low in a saucepan and then whisk it with the eggs, buttermilk, vanilla and baking soda.  ( I tried skipping the melting butter part since my butter was so soft, that was a mistake!  It curdled.)  Add the liquid to the flour and then stir in one cup of the crushed strawberries.

Pour batter into your greased pans and bake for 20 - 25 minutes.  (I had baked my rounds for 20 min., next time I'll do 25 min.)  Cake is done when a toothpick comes out clean from the center.  Let it cool for ten - 15 minutes then flip out of pan and let cool thoroughly.

The only thing I changed from this recipe was the sugars.

Strawberry Cream Cheese Filling:

1/4 cup butter softened at room temp.
1 (8-ounce) package cream cheese, softened
1/2 tsp vanilla
1 tbl spoon meringue powder or 2 tsp cornstarch (this is to help it thicken)
1 tsp Knox gelatin
1 cup palm sugar
3/4 cup thot not sugar  (I wanted the thot not to give it more thickness, but it is stronger tasting than the palm sugar, which is why I used both, you can use all palm sugar)

In a large bowl, beat butter and cream cheese at medium speed with an electric mixer until creamy.  Beat in 1/4 cup of the strawberry puree and the vanilla extract.  Gradually add sugar, beating until smooth.

I am using the rest of the strawberry puree as a topping for my homemade ice cream, or you could also use it for strawberry shortcakes!  Yum!

Tomorrow I will tell about the food for my shower and give you those recipes too!  Thank you for reading!
Happy Baking,
Missy

Tuesday, June 22, 2010

Milk and Cookies Baby Shower - The Pregnant Mommy Topper


The theme of the baby shower was milk and cookies, so I wanted to stay with the theme of the baby shower.  I had seen some very cute pregnant mommy cakes from pinkcakebox.com and I wanted to try to make one of those.  It was definitely not very easy.  It took me 4 1/2 hours to make my pregnant mommy!  LOL!  I made her on Tues. night so that she would have time to harden before Sat.  This is how I made her:


 My husband told me that I shouldn't put a picture of a naked pregnant lady on my website!  LOL  I told him this was not the same thing, it's a tutorial!  :)  First I rolled a thick sausage for the body.  Everything I read said to make sure it was not too big or you would make her fat.  I flattened my sausage some because torsos are not round.  I made a belly and her boobs out of round balls.  Make sure you place her boobs up higher, I had placed them too low and had to move them later.  I stuck a piece of spaghetti through her belly to keep it attached.  I used lemon extract to attach everything because it makes the fondant taste better.  You can also add some directly to the fondant and knead it in with the color.  You can also use water to attach things.  I used a tiny drop of copper to make her flesh color. 


 Next I made her legs.  I made two sausages for her legs and bent them at the knees and at the feet since she was sitting down.  Notice that I have her sitting on the pan that I will be using for the top layer?  I wanted to make sure that I made her the right size.  Notice how I flattened the top of her legs?  I did that so I could stick them under her and attach them with water.  1.  I made them too skinny  2. I put too much water on them when I attached them.  So she lost a leg and I had to do surgery.


 I had to add extra fondant around her belly and bottom to try to keep the legs attached.  This made her look fat when I got done.  Next time I will make her legs bigger at the top to begin with to avoid this problem, because I still lost another leg after I had finished with her dress.  I attached it with frosting when I assembled the cake together.

I never did find a tutorial on how to make her clothes, so they didn't turn out great, but here is what I did:


 I first tried doing one piece for the dress, but that did not work.  Here is the picture of my mistake, I forgot to take a picture of what I did for the skirt.  So I took some fondant and rolled it out and I used my ball tool and sponge to thin out and ruffle the bottom some.  I then wrapped it around her belly and under her bottom.


 I wrapped it around her like I would fabric and smoothed it down.  I tried to make sure her belly showed!  LOL


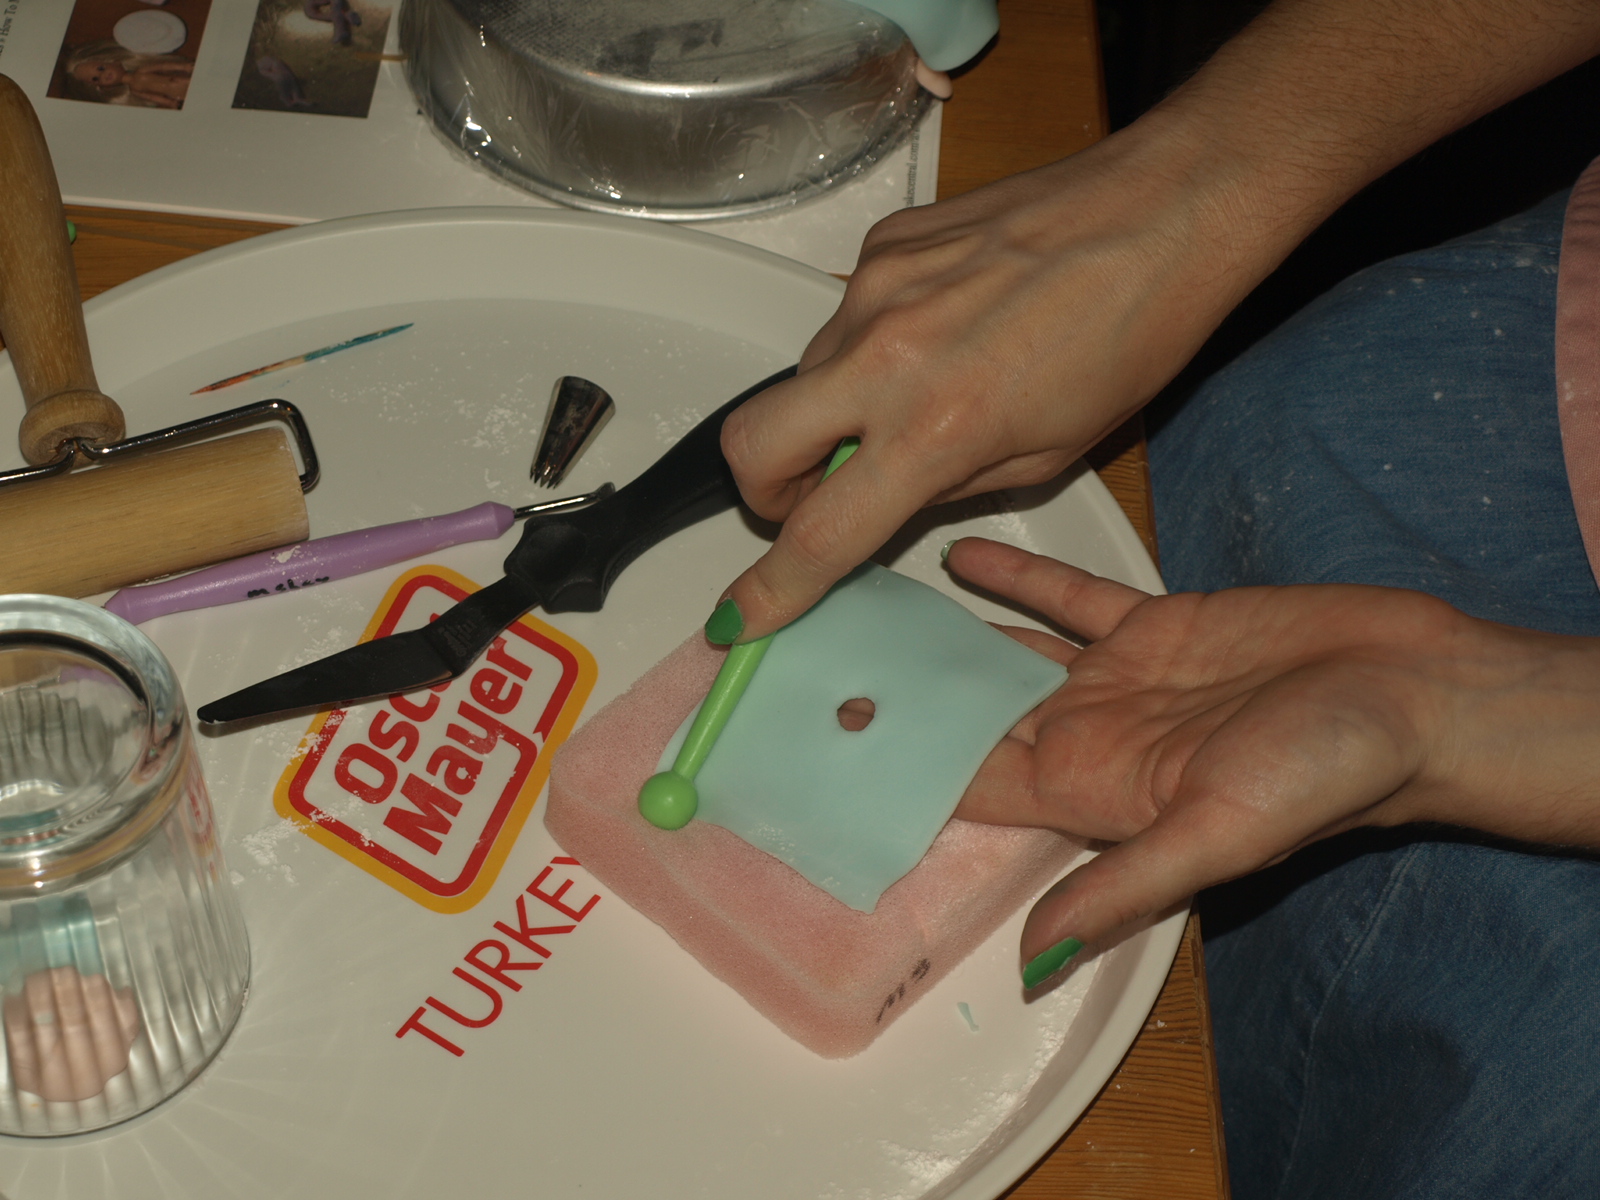
For her top I cut out a square and used the bottom of one of my tips to make the neck hole.  Using my ball tool I thinned the bottom of her shirt and then I tried to cut it with a wheel thingy from Wilton, but it didn't work.  So I grabbed my scrap booking scissors, and they worked great and gave it a nice pretty scalloped edge.  :)  (BTW - do you see my green fingernails?  LOL)  Make sure you cut your shirt out bigger just in case so you don't have to do it twice like I did!


Notice in the upper picture how I just placed the square on her for the shirt?  I should have smoothed down the front some more to help accentuate her belly.  I should have also cute off the shoulders there because it looked like she was wearing shoulder pads.  I smoothed down the sides with water.  I rolled two more sausages for the arms.  I stuck a piece of spaghetti through her shoulders to hold the arms on with.  The arms were covered with sleeves so next time I will make them a tad bigger at the top for more support.  I also need to work on the sleeves and hands, they were terrible. I covered the hands with cookies.


 I was really stressed about the face and forgot to take pictures as I made it.  I wish I had taken a picture of the first face I had made - she was scary looking with a big black smile and huge eyes!  My husband took one look at her and told me I would have to make another one, and he has never told me I needed to redo something before, even when it turned out awful!  First I rolled a ball for her head and stuck it on a piece of spaghetti sticking out of her body.  Then I took a toothpick and made a hole for her mouth and then stuck a piece of leftover pinkish reddish fondant in her mouth with my pinkie nail and opened it up a tad


bit more.  Using my smallest ball tool I made two small holes for the eyes and put two tiny balls of dark brown in there.  (Kristi has green eyes, but my husband didn't think the green would show up very well).  I dipped a toothpick in black gel food coloring to draw on 2 eyelashes in the corner of each eye.  I took a small piece of flesh colored fondant and rolled it into a ball for the nose.  I used a q-tip dipped in pink luster dust for the cheeks and put some in her mouth.  I used leftover brown to make her shoes.


 For her hair, I took a small square and cut fringes in it for her bangs.  I put those on first.  I had used chocolate fondant mixed with white fondant to make the rich brown color of her hair.  I rolled it into an oval ball and just flattened it out with my hands.  I used an angled spatula to make the lines in her hair.  I had to move her when I baked the cake and I just happened to have the bench that I put her on.  Tomorrow I will give you the recipes for the cake, totally from scratch strawberry cake, with strawberry cream cheese filling and fluffy carob frosting.  I will also tell you how I decorated the rest of the cake.

I also made cookies and milk for the cake to go with the theme of the shower.  I made a platter for the cookies out of some leftover fondant,  then I rolled tiny balls of light brown fondant and poked them with toothpicks and used lemon extract to attach them in a pile.  Then I filled in the holes with black food coloring on the end of a toothpick. I molded the glass and milk bottle free hand.  You can go here to learn how to make the rest of the cake:  http://missyscakesandaprons.blogspot.com/2010/06/milk-and-cookies-cake-plus-recipes.html

Thank you for listening, and happy baking! 
Missy

Monday, June 21, 2010

Milk and Cookies Baby Shower


Whew, I am so tired, but it is a good tired!  I've been pretty quiet on here because I was throwing a shower for my friend Kristi.  I also made the cake.  The theme was cookies and milk.  I saw a first birthday milk and cookies theme here:  http://apartystyle.blogspot.com/2010/02/milk-and-cookies-party_10.html , and I fell in love with it.  I was going to do a brown and white theme like in the pictures, but then I found these plates:


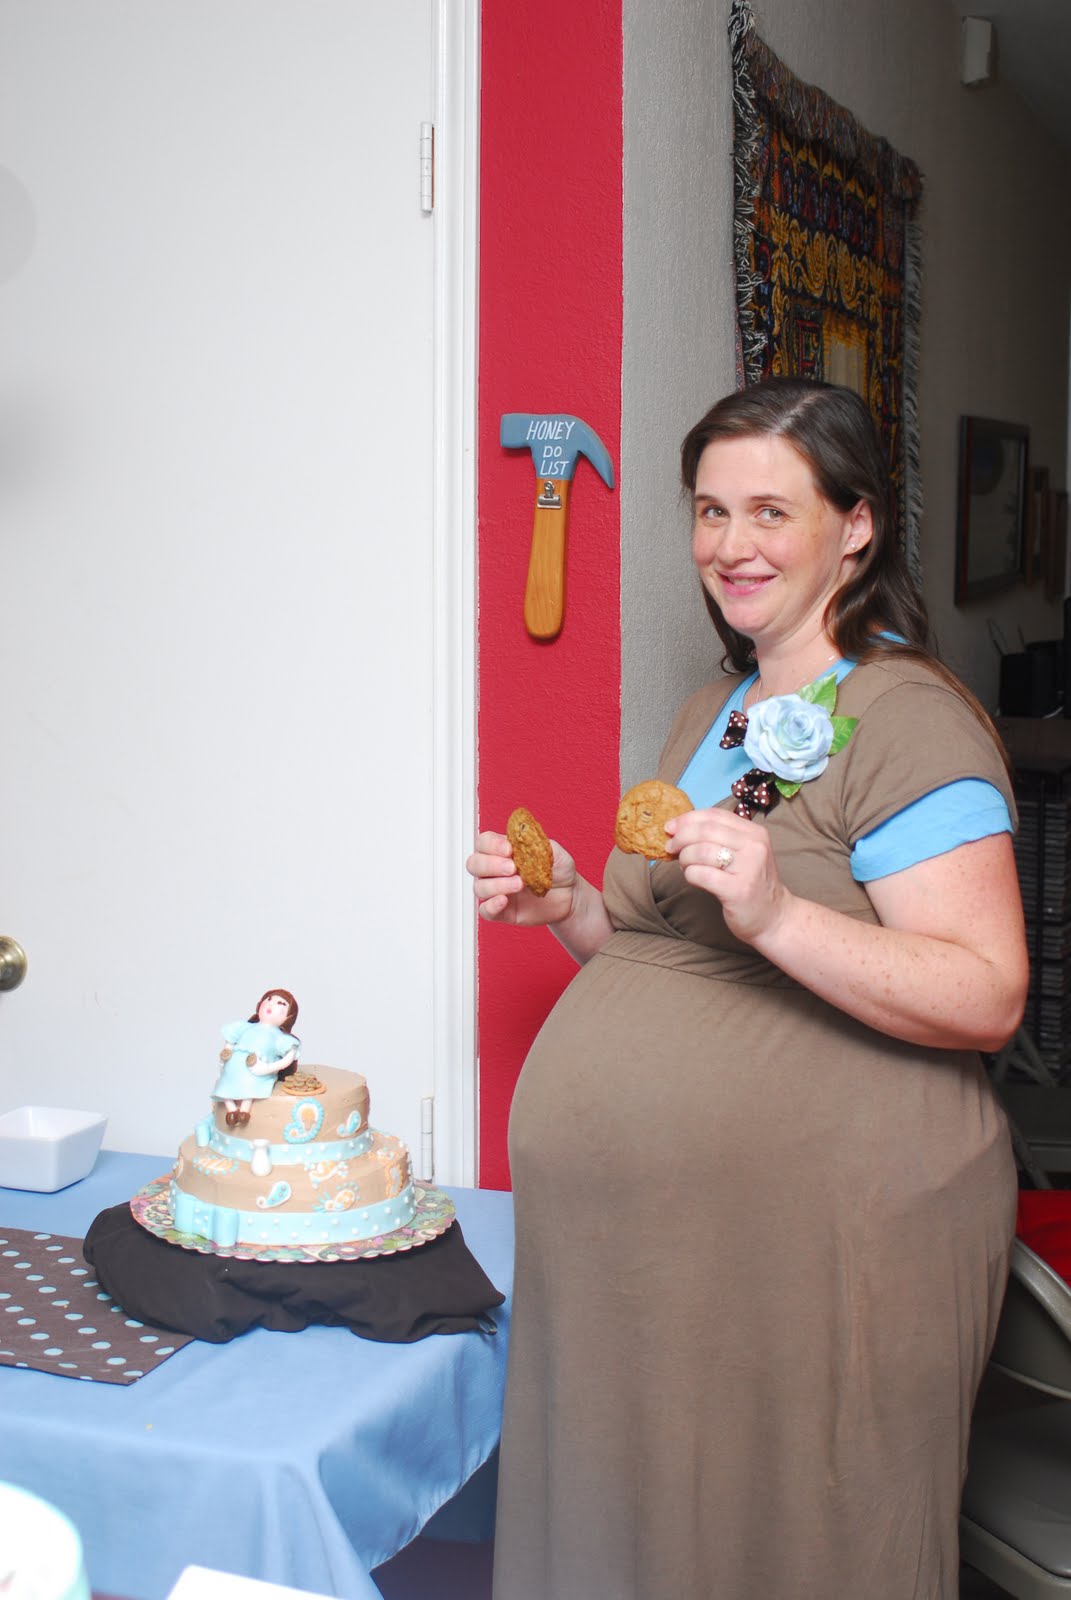
and I had to change  my color scheme!  I changed it to brown, blue and paisleys.  I made the cake to match the plates: 

I also found matching scrapbook paper which I used through out the shower, even underneath my cake!


Proverbs 23:25 says:  "Thy father and thy mother shall be glad, and she that bare thee shall rejoice".  Kristi and James were married last year.  Kristi lost her first husband years ago before I knew her and has a ten year old daughter, Kayla.


 For years Kristi thought she would never have another child, until her and James were married last year ( I also made their wedding cake).  She is 41 years old an prayed that the Lord would give her another child and He blessed her with a son. 
I chose the verse:  "O taste and see that the Lord is good, blessed is the man that trusteth in Him"  Psalm 34:8 because Kristi trusted in the Lord to take care of her and her daughter all these years and he has truly blessed them!


 I made this banner on my computer and hung it on the fireplace by the tables.  I had also put this verse on the invitations.

We all took this time to rejoice with Kristi in this most happy time of her life!


We had a lot of friends and family come to celebrate with us!

I was very happy with myself because I actually took the time to have fun myself.  I usually stress myself out trying to make sure everything was perfect, but this time I just stood back and decided I'd rather fun than make everything perfect, and I had a lot of fun!


This picture is hilarious, we were playing charades, and my clue was rubber duck.  Notice I have on a different skirt?  I had dressed to match the shower, a blue shirt and brown shirt and I had even made a hair barrette out of left over ribbon from the shower.  I had just got the skirt ( a great deal for 99 cents!) on Wed. and I tore my skirt in the back and had to borrow one from Pam!  LOL
That's ok, the skirt was too long and I was going to shorten it from the top anyways!
There is so much more to tell you about the shower!  This post is already too long though, I will give you more pictures of the decorations and cakes and stuff in my next post!  Thanks for listening!

Missy


P.S.  I did warn all of my friends that I would be blogging about this shower!  LOL  I would like to thank Siouxsie and Pam  ( and me!) for all of the great pictures!

"Oh taste and see that the Lord is good: blessed is the man that trusteth in Him." Psalm 34:8