

Hello again! Yesterday we talked about how I made my pregnant Mommy for the top of my cake. Like Paul Harvey would say: "Here is the rest of the story!" I hope when you read that it sounded just like Paul Harvey in your head - it did for me when I wrote it! :) I guess you younger people have no idea what I am talking about though! LOL
Kristi got married last year and she wanted a strawberry wedding cake made totally from scratch without the jello that most strawberry cakes are made from. I could not find one anywhere so I just made her a white cake with a strawberry buttercream filling Here is her wedding cake:

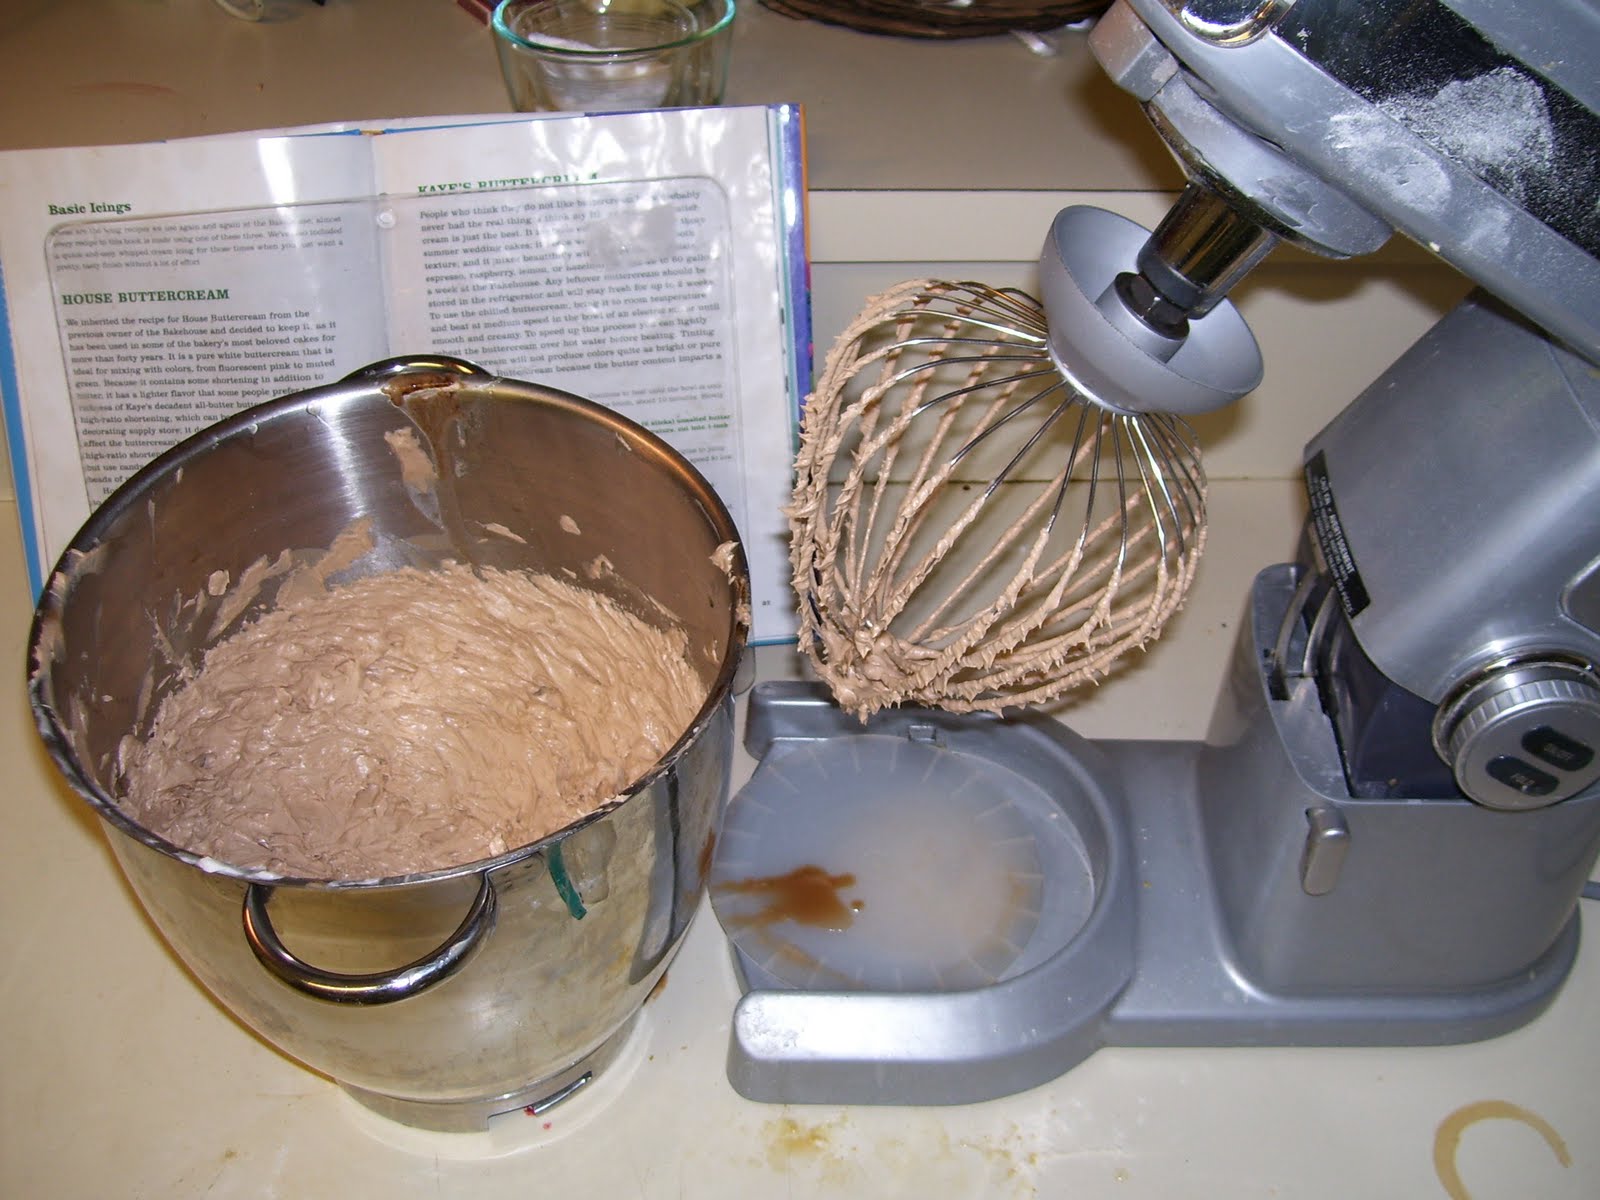
What a privilege it was for me to make her wedding cake and baby shower cake! For her baby shower cake I found a from scratch strawberry cake here: http://homesicktexan.blogspot.com/2010/05/strawberry-sheet-cake.html. I also adapted Paula Deen's strawberry cream cheese frosting for the filling. http://www.foodnetwork.com/recipes/paula-deen/simply-delicious-strawberry-cake-recipe/index.html I needed a brown back ground, so I made my fluffy icing (you can find the recipe on my blog) and added two tablespoons carob powder in with the sugar (she can't have chocolate since she is pregnant). I'll give you my adapted recipes at the end of this post.


 First I made my two nine inch and two six cakes using my strawberry puree which I used for the cakes and the filling. The strawberry cake was very dense like a banana cake is.

 I made my filling which I definitely changed up from Paula Deen's, my frosting (yes I still have to jog my memory by looking at the original recipe) and then I filled my cake by first making a circle on the outside with my buttercream to hold in the filling. I skipped this step once and I had filling oozing out of the side of my cake- yuck! I then put the two layers together and then iced my cakes smooth. Does anyone else think getting the frosting smooth is the hardest part? It takes me forever!
 I almost forgot to mention my cake plate covering! Did you notice the paisley paper under my cake? I found matching scrapbook paper from Hobby Lobby and I cut one out the size of my plate and laminated it. I then stuck it on with double sided tape! I wish I had used a thicker cake plate so I could have put some of the matching ribbon around the edge.

 Be sure to mark where your 6 inch cake will be placed.
 Then take your dowel rod or heavy duty straw and mark the size you need.
I found my straws at the Austin Cake Show. They are from Straws by M Inc. strawsbym@comcast.net . I have only used them on small cakes so far, but I really like them because they are easier to cut than regular dowel rods. Since this is such a small cake, I only cut three pieces for my support. I made two cake recipes, but because it was so dense, it was not very big. I then stacked my two tiers. Normally I would hide my plastic cake separator with the border, but since I was doing fondant ribbon I had to try to smooth

Next I made my fondant ribbons. I made the blue the same color as her dress and the trim on the plates. I smoothed it out in my pasta maker. (Thank you dear husband, I love it!)
Be sure to wash the pasta maker first, or you will have black streaks in your fondant. After you flatten your fondant, lay it on the table and cut it the width you want, make sure it is long enough to go around the entire cake.


 I piped the paisleys one color at a time, layering them. I tried to make the design look like the plates.

Go here for directions on making the topper: http://missyscakesandaprons.blogspot.com/2010/06/milk-and-cookies-baby-shower-pregnant.html

Here are the recipes I promised you:
Strawberry Sheet Cake adapted from the homesicktexan.com
Ingredients:
12 oz. fresh strawberries, stems removed and chopped (about 3 c)
2 cups of thot not sugar (granulated palm sugar)
2 cups of flour
2 sticks of butter (1 cup)
2 eggs
1/2 cup buttermilk
1 tsp of baking soda
1 tsp real vanilla (not imitation)
Method:
Over the chopped strawberries, sprinkle 2 tsp of sugar (thot not is not as sweet, so next time I will do 2 tbl) and 1/4 cup of water. Let them sit for an hour at room temperature so they can release some of their juices, or if you do this step the day before let them sit in the fridge overnight. In a blender or food processor, crush the berries on a low speed for a few seconds-you want them juicy but still with some texture. Take 1/2 cup of the strawberry mixture for the frosting and leave the rest for the cake.
Preheat oven to 400 degrees.
Sift the sugar and flour together in a bowl. Do not skip this step!
Melt the butter on low in a saucepan and then whisk it with the eggs, buttermilk, vanilla and baking soda. ( I tried skipping the melting butter part since my butter was so soft, that was a mistake! It curdled.) Add the liquid to the flour and then stir in one cup of the crushed strawberries.
Pour batter into your greased pans and bake for 20 - 25 minutes. (I had baked my rounds for 20 min., next time I'll do 25 min.) Cake is done when a toothpick comes out clean from the center. Let it cool for ten - 15 minutes then flip out of pan and let cool thoroughly.
The only thing I changed from this recipe was the sugars.
Strawberry Cream Cheese Filling:
1/4 cup butter softened at room temp.
1 (8-ounce) package cream cheese, softened
1/2 tsp vanilla
1 tbl spoon meringue powder or 2 tsp cornstarch (this is to help it thicken)
1 tsp Knox gelatin
1 cup palm sugar
3/4 cup thot not sugar (I wanted the thot not to give it more thickness, but it is stronger tasting than the palm sugar, which is why I used both, you can use all palm sugar)
In a large bowl, beat butter and cream cheese at medium speed with an electric mixer until creamy. Beat in 1/4 cup of the strawberry puree and the vanilla extract. Gradually add sugar, beating until smooth.
I am using the rest of the strawberry puree as a topping for my homemade ice cream, or you could also use it for strawberry shortcakes! Yum!
Tomorrow I will tell about the food for my shower and give you those recipes too! Thank you for reading!
Happy Baking,
Missy
1 comment:
What a cute cake! Love it! Thanks for sharing at Healthy 2Day Wednesday; come back tomorrow and see if you were featured!
Post a Comment